Import XML Files
How do I import data from a XML file?
Start by opening the main menu at the top left corner. In the list you find the menu item Data Source that leads you to all importer settings.
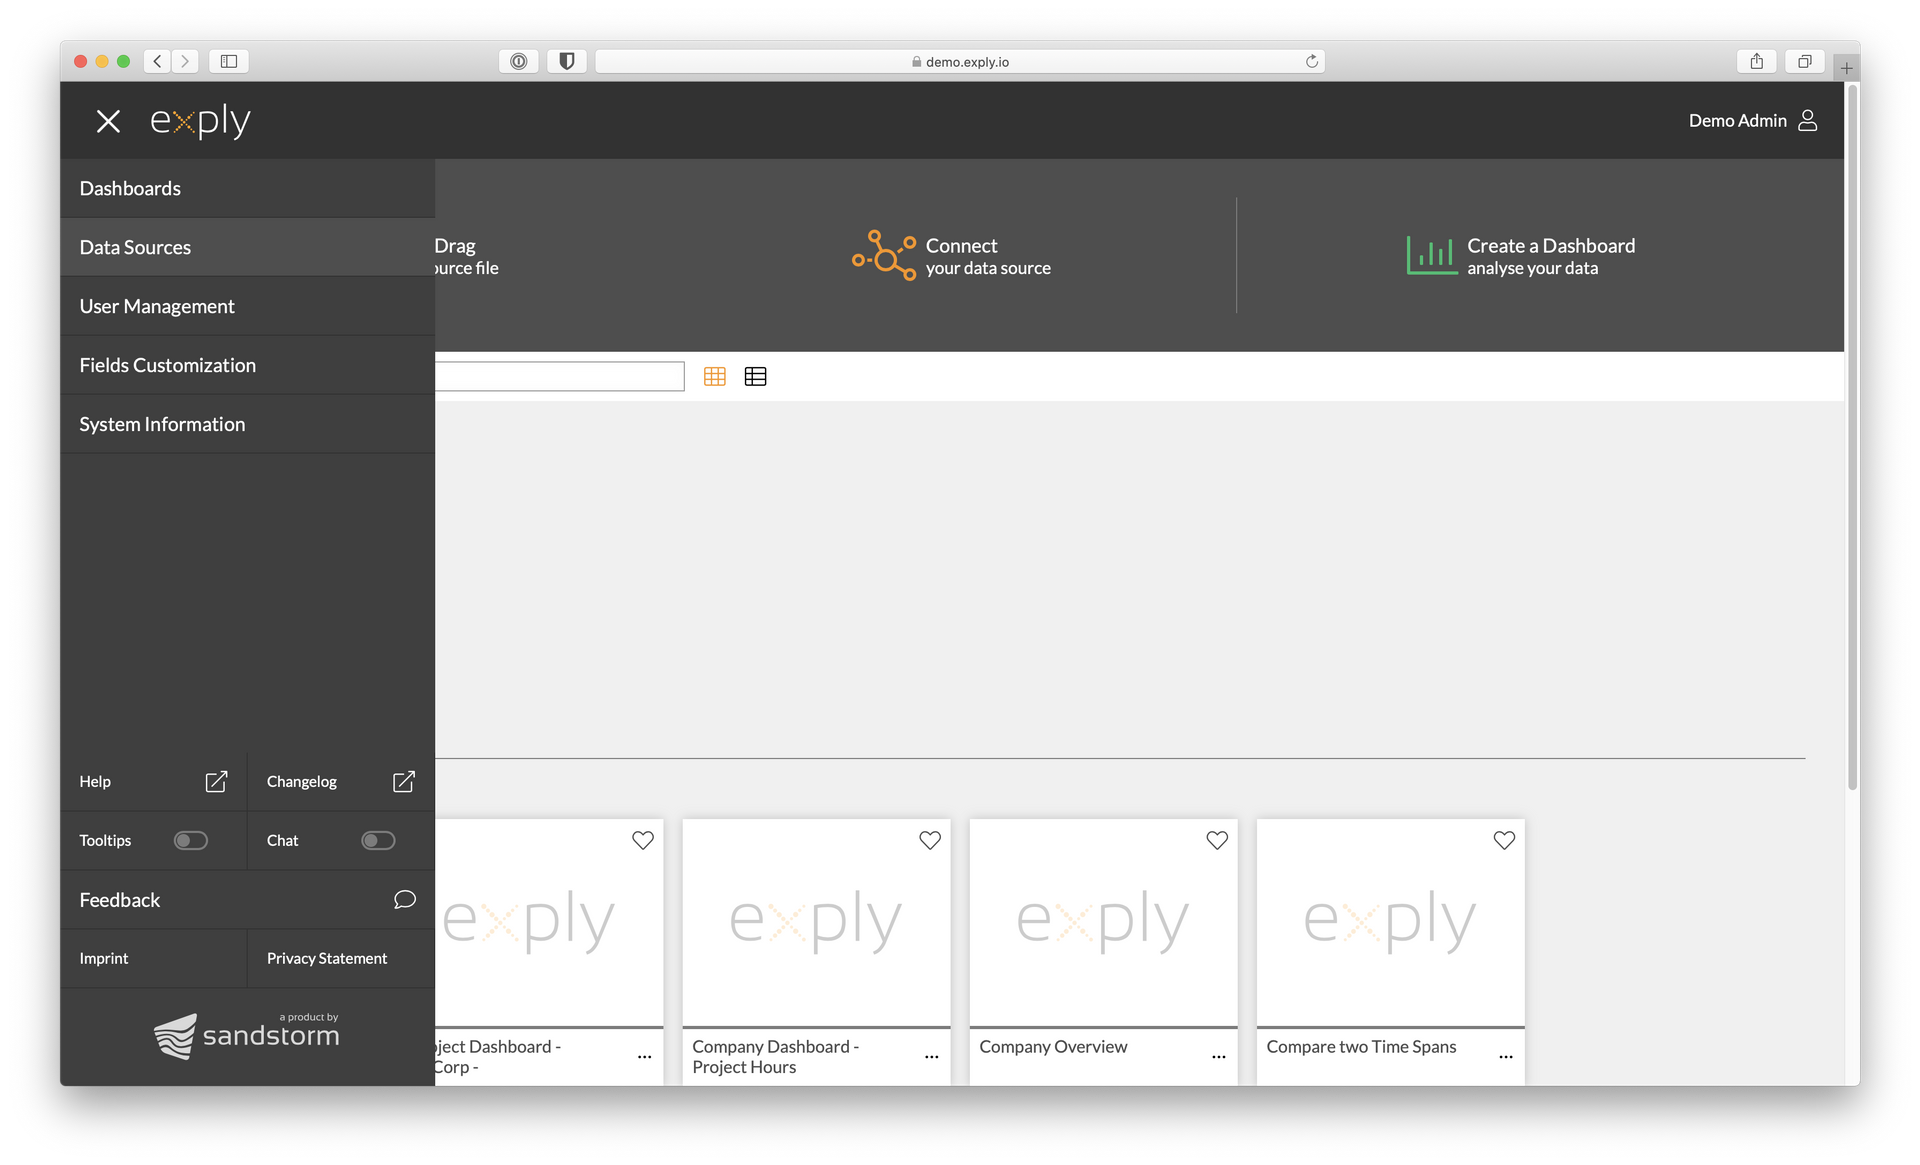
Choose Data Sources from the Menu or Connect from the Startpage
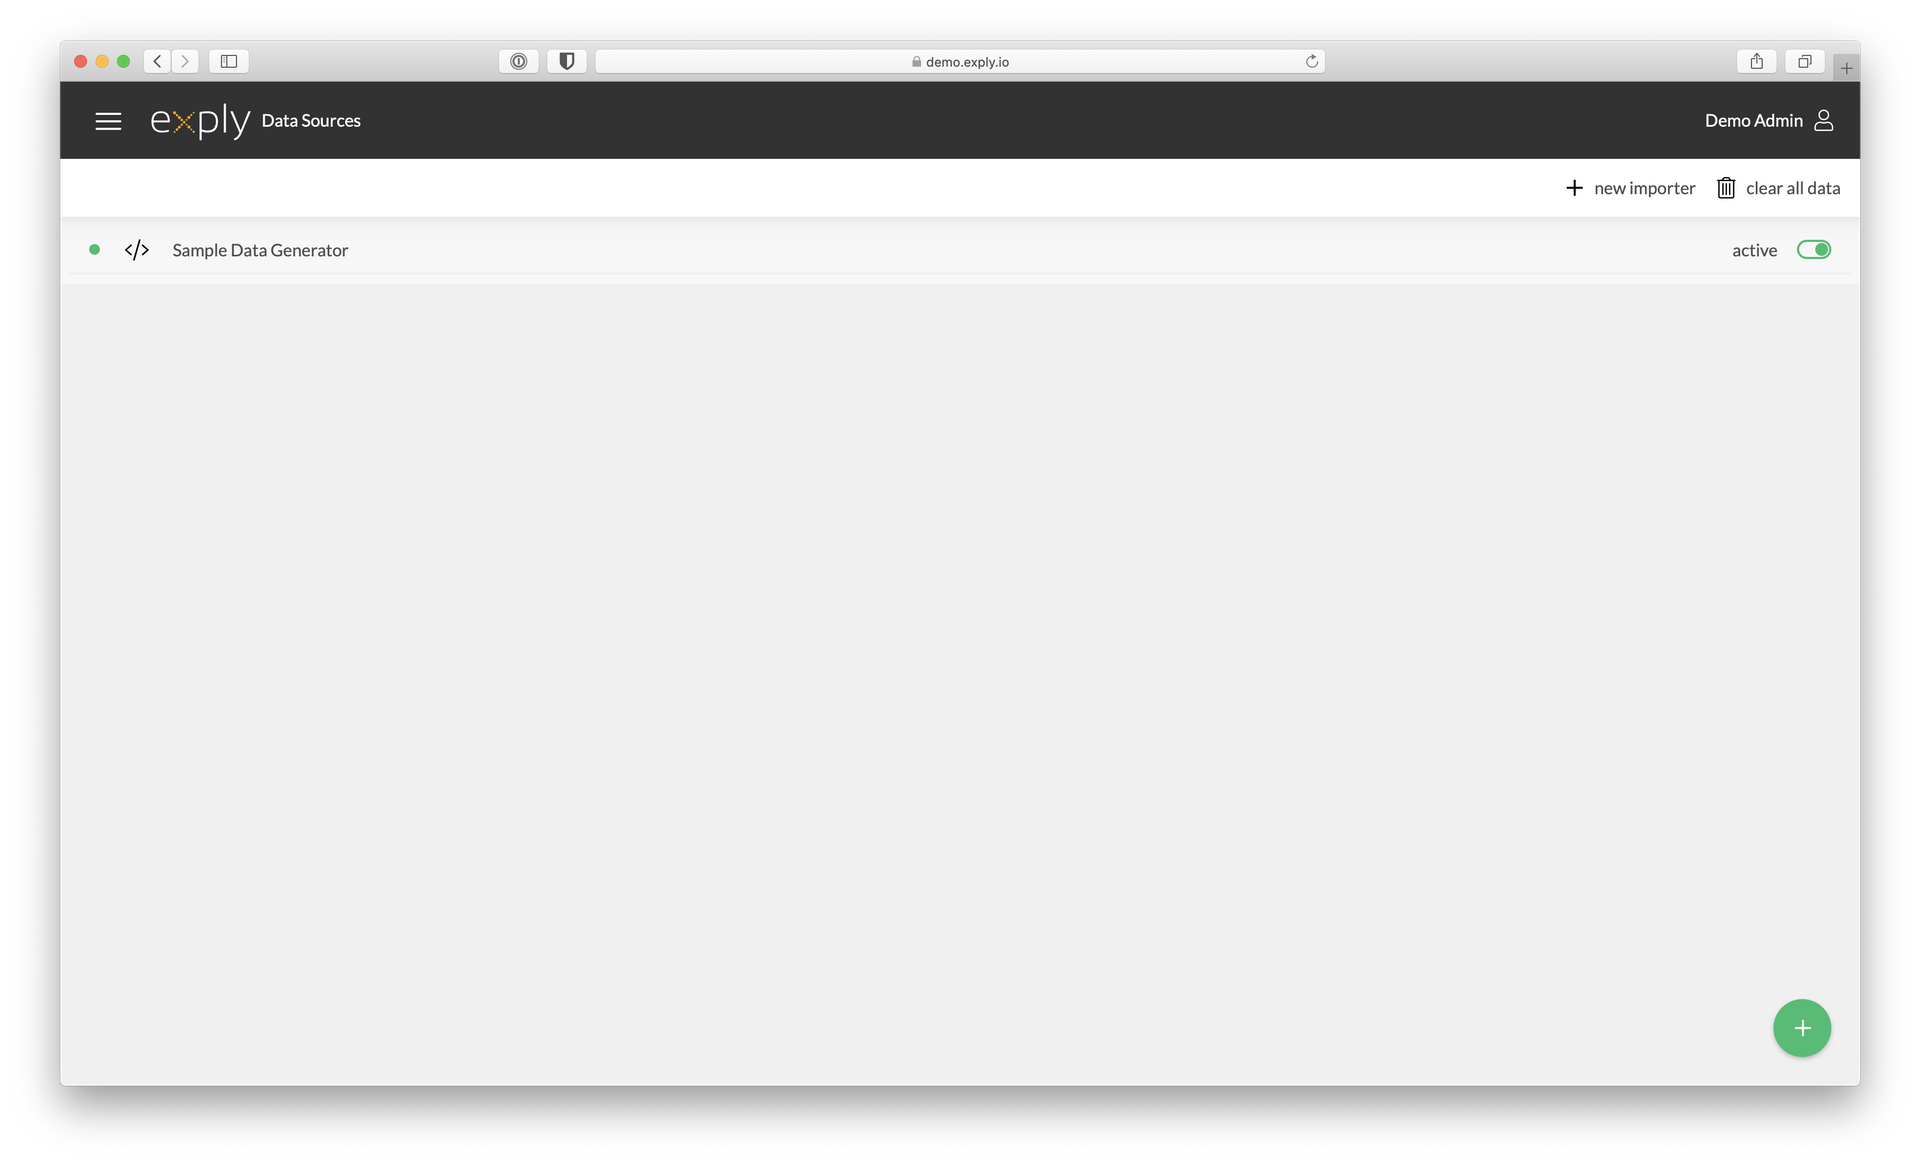
Configured Data Sources Overview
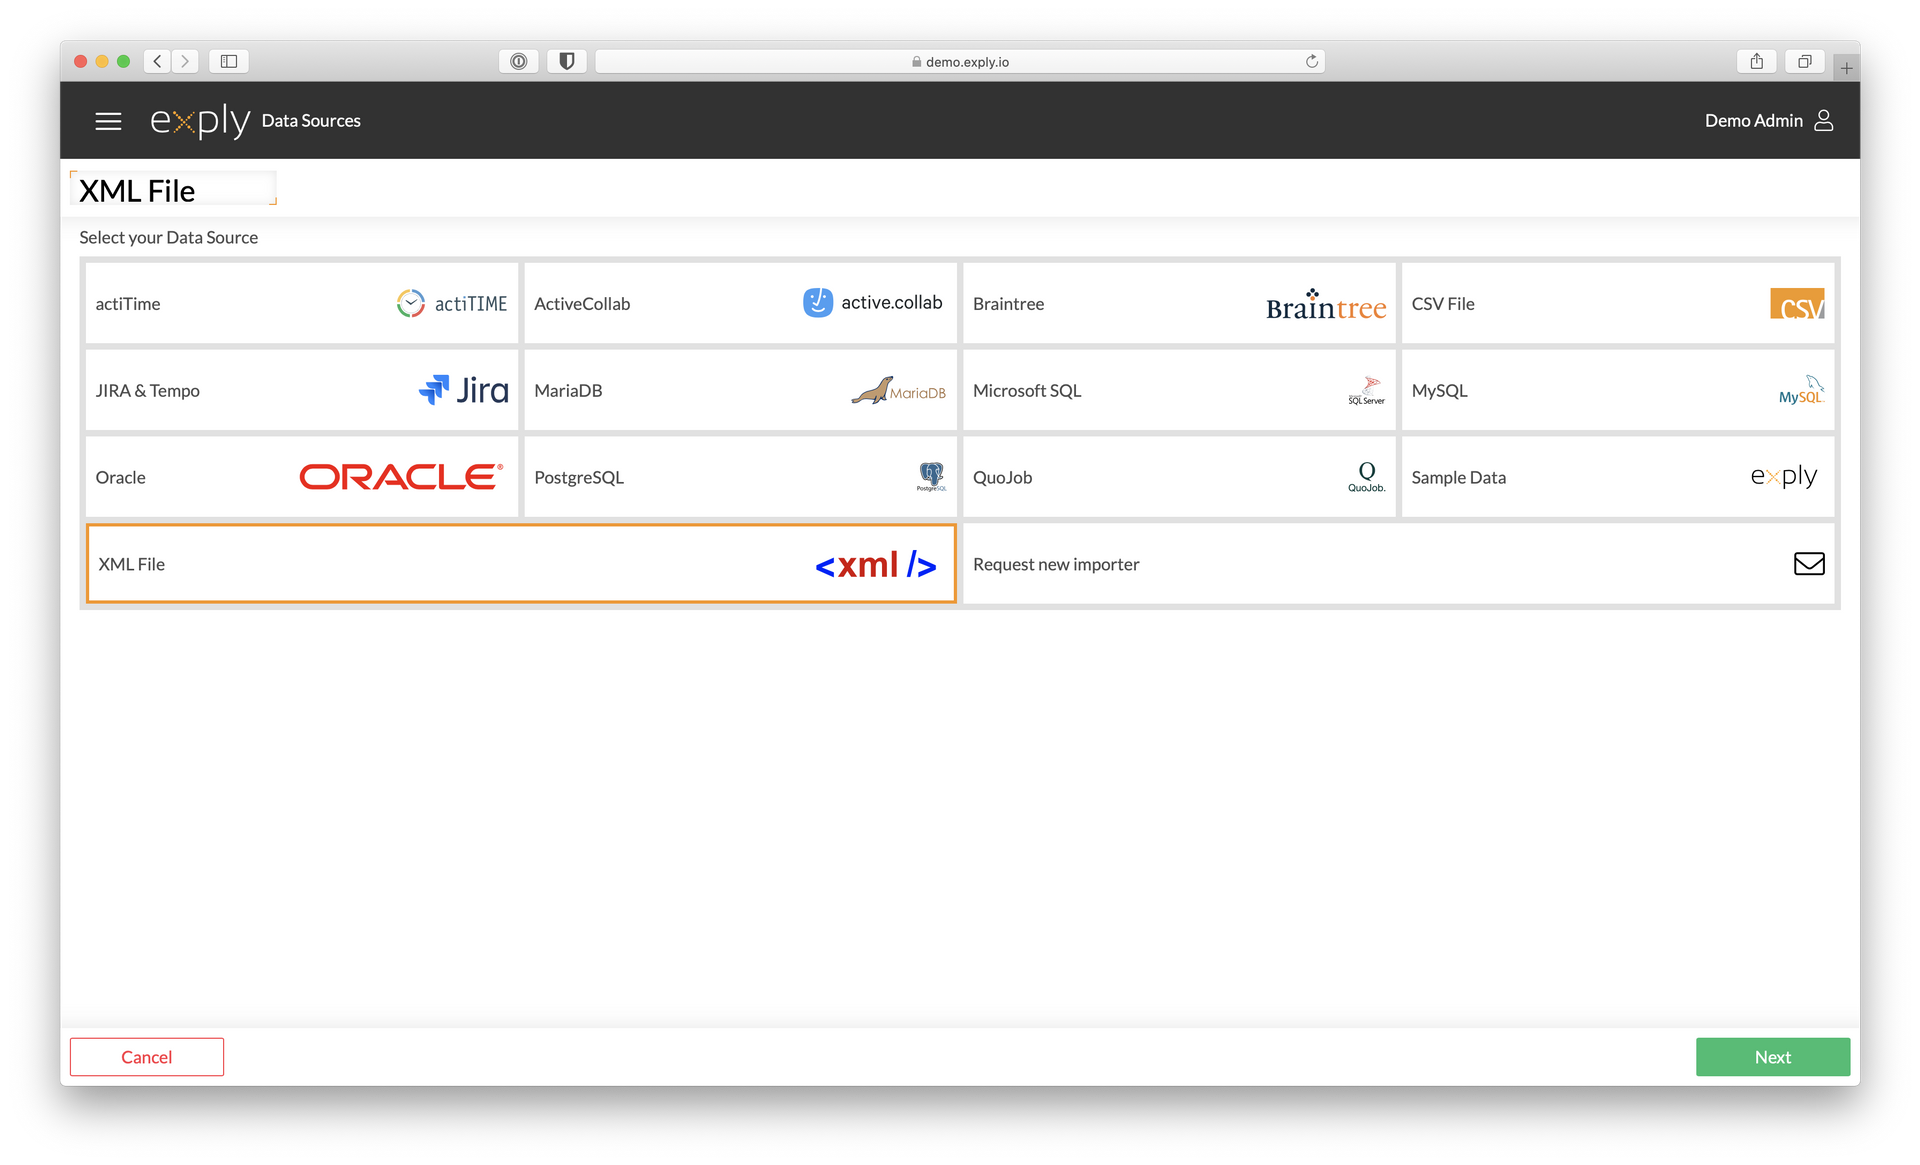
Choose XML File from the Data Source Overview
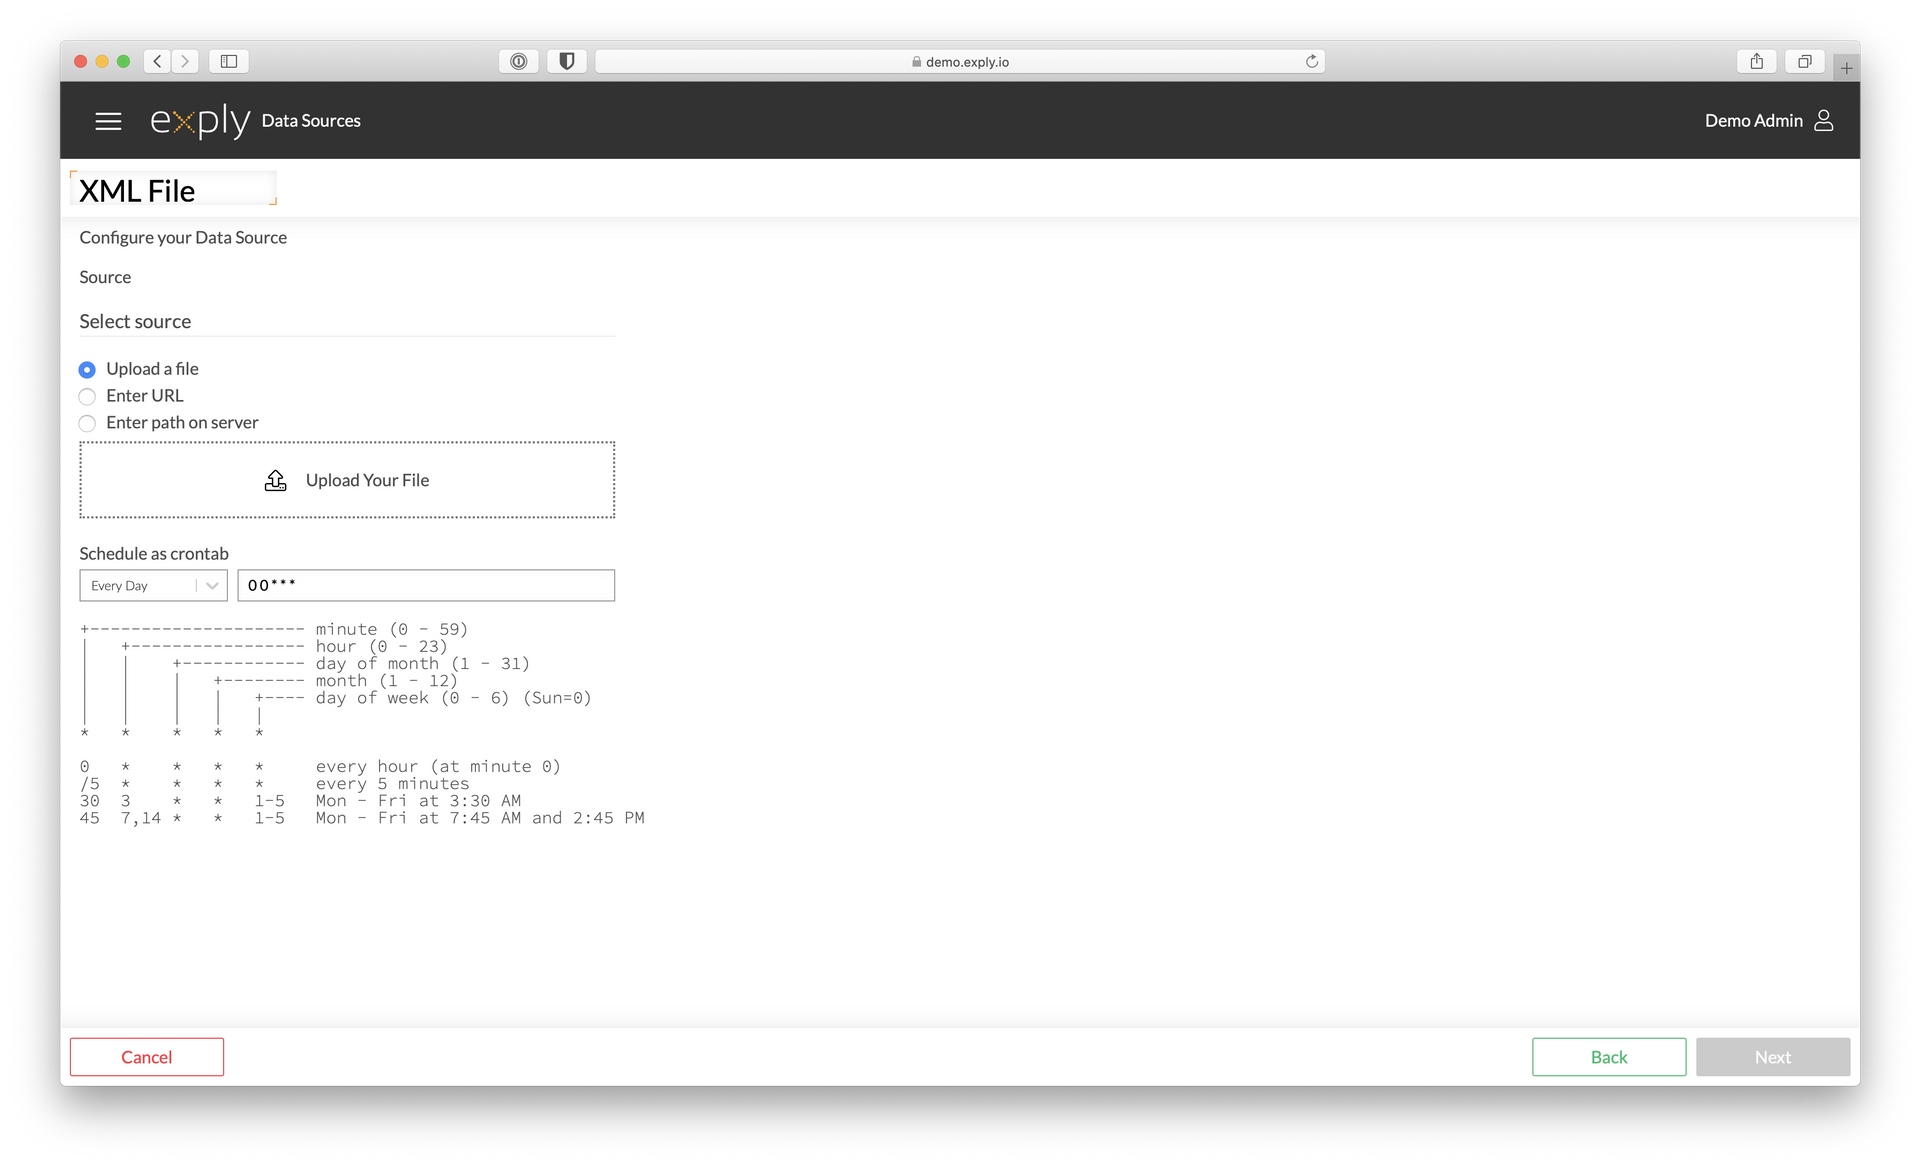
Choose how to import your XML File
XML Import Configuration
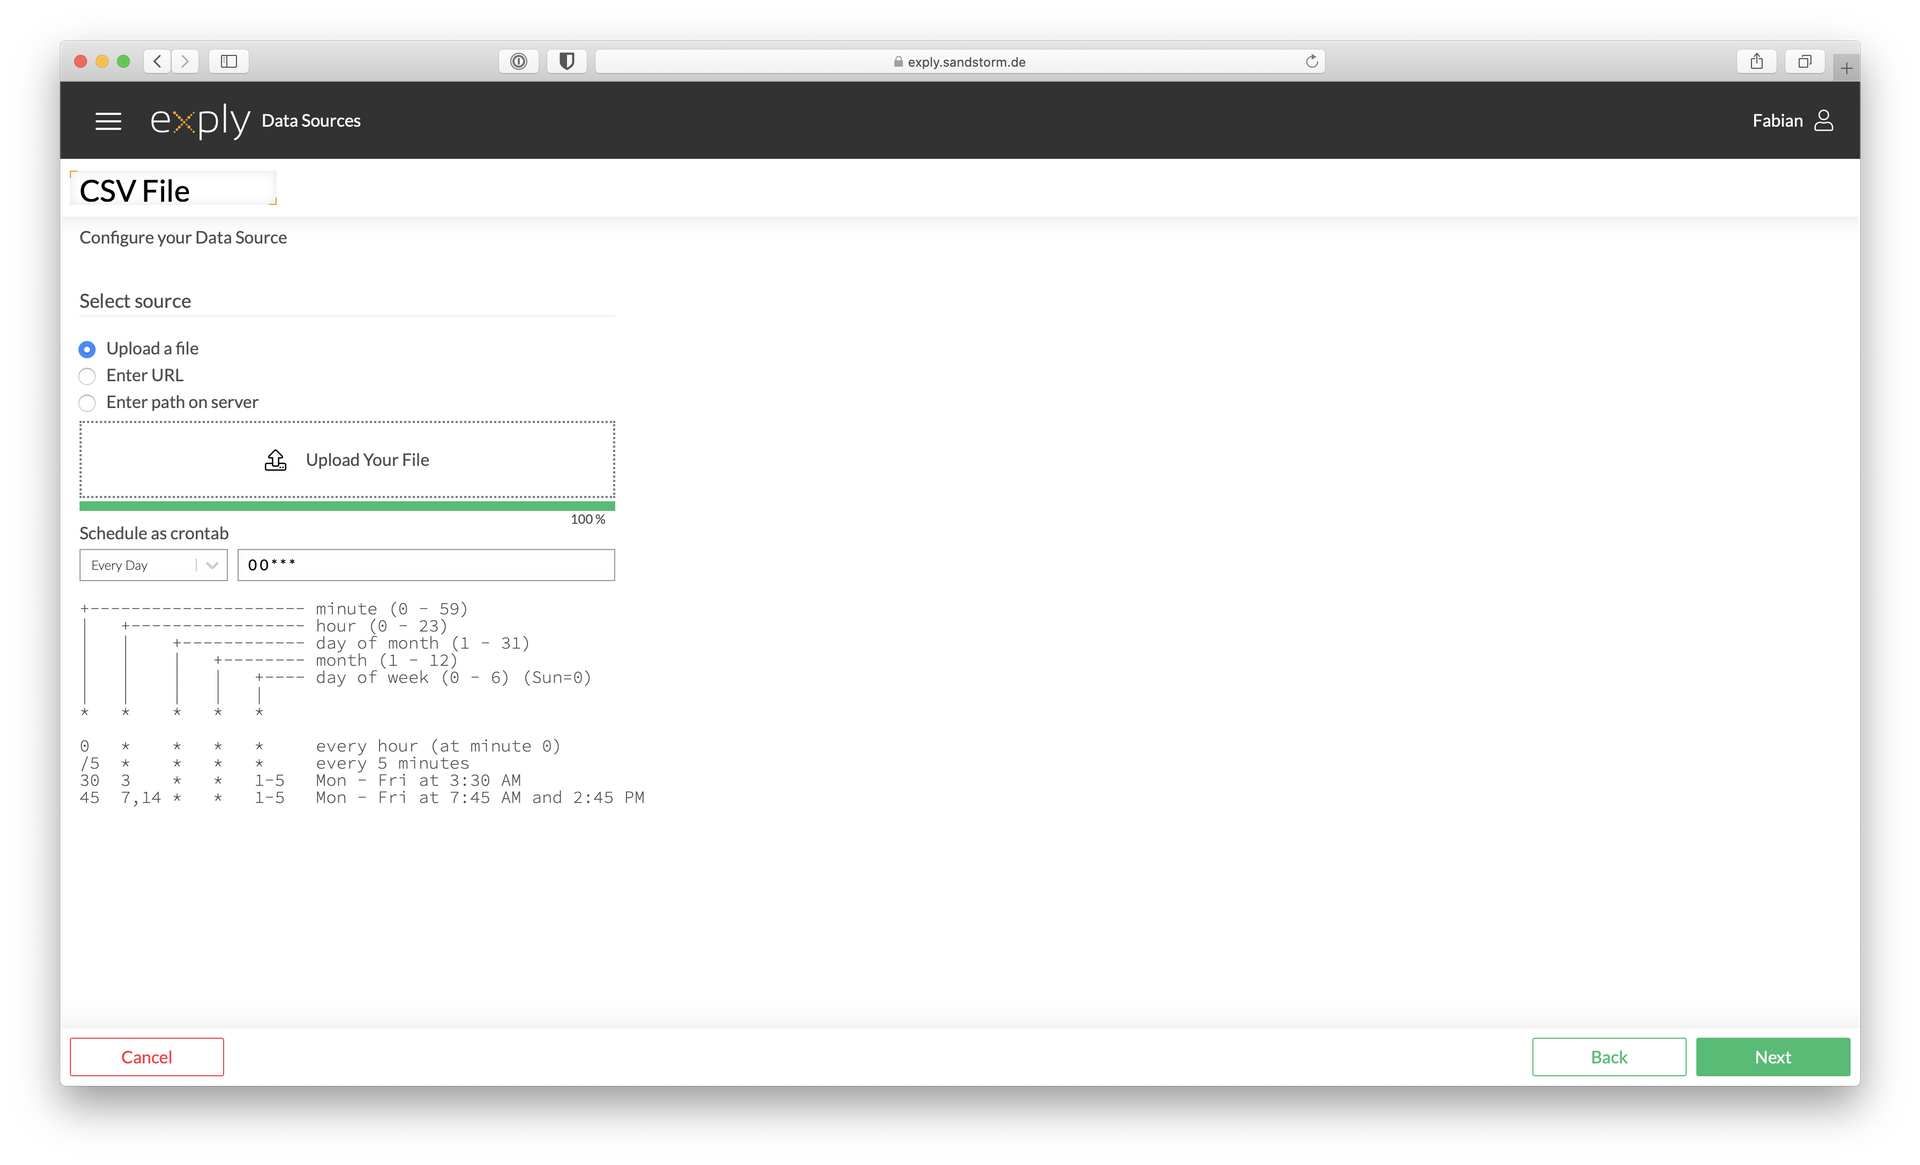
XML File Upload successful
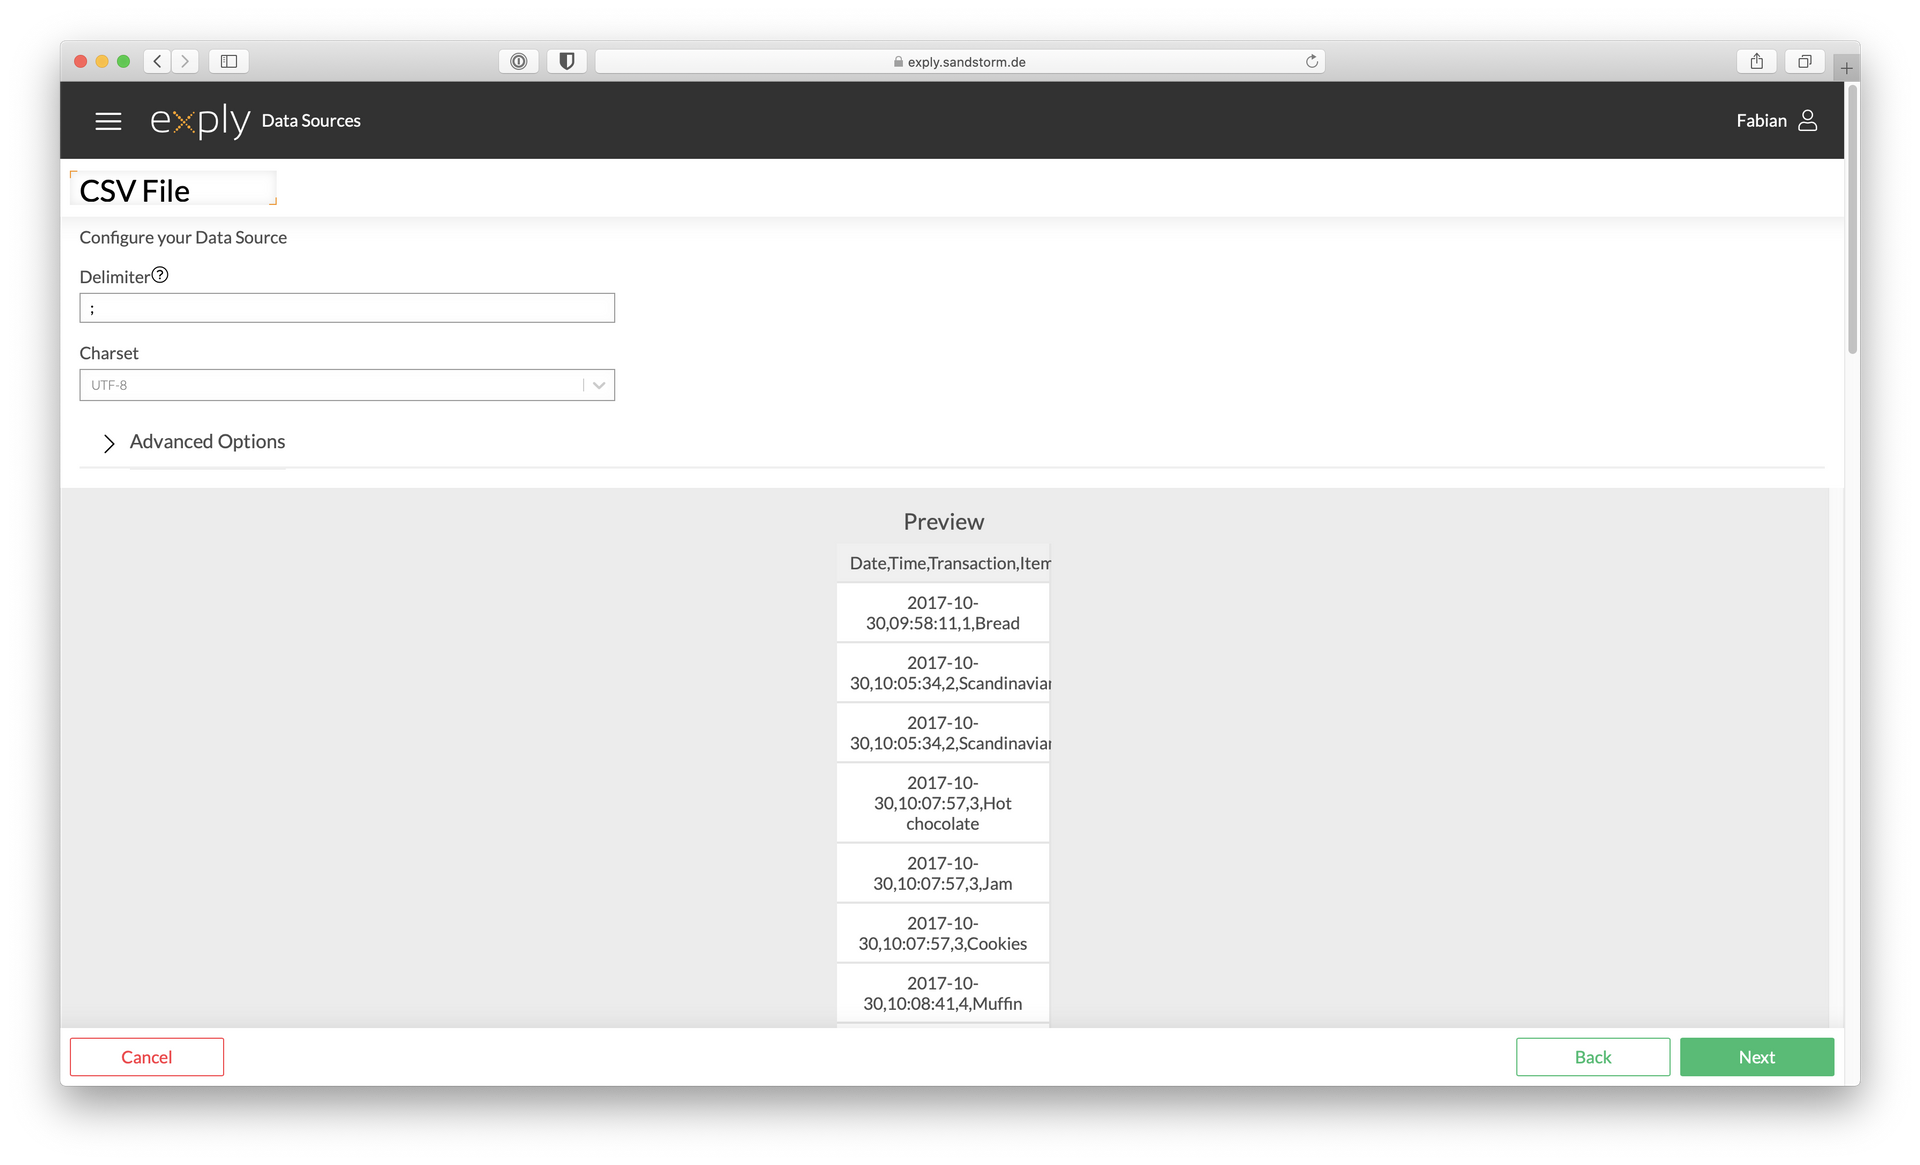
Preview without a selected Delimiter
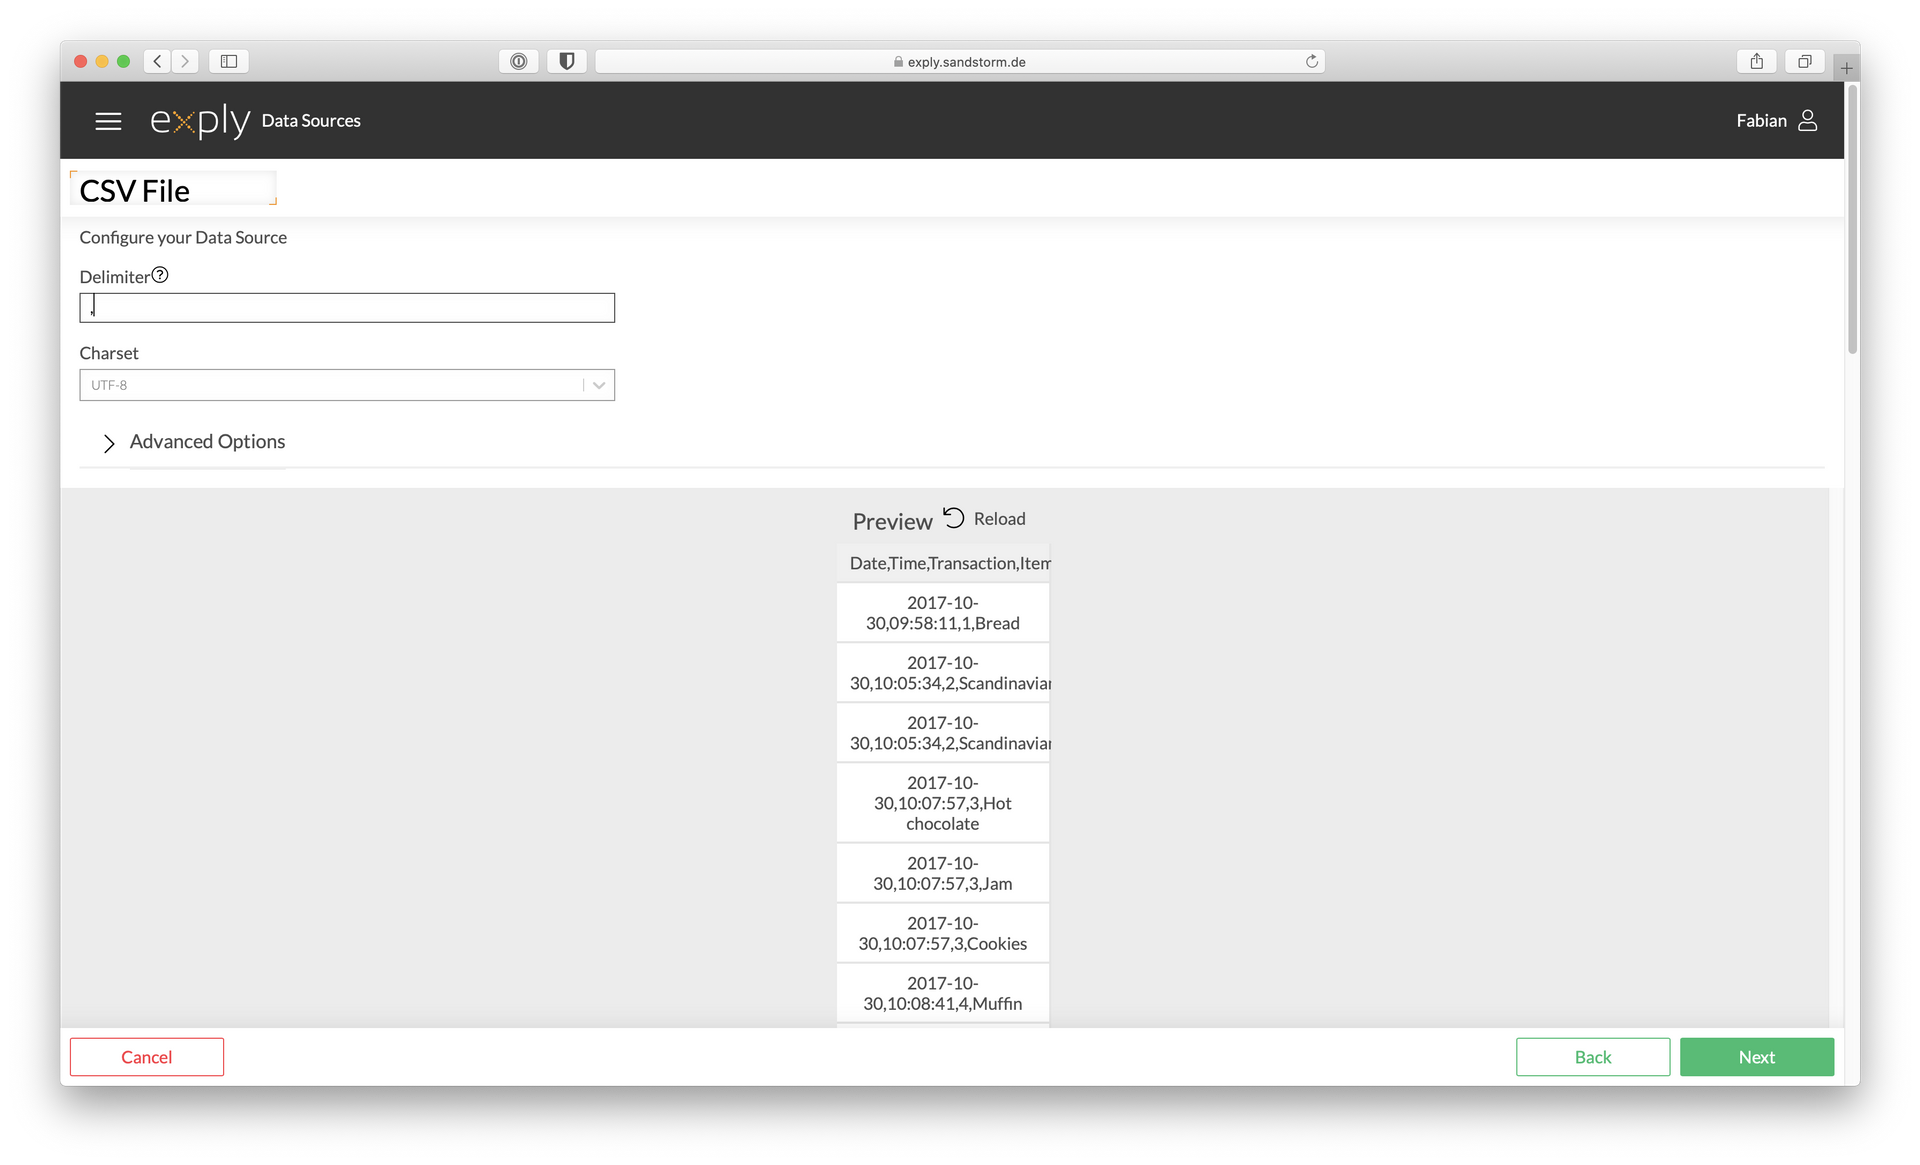
Enter the correct Delimiter and reload the Preview to see if everything is fine
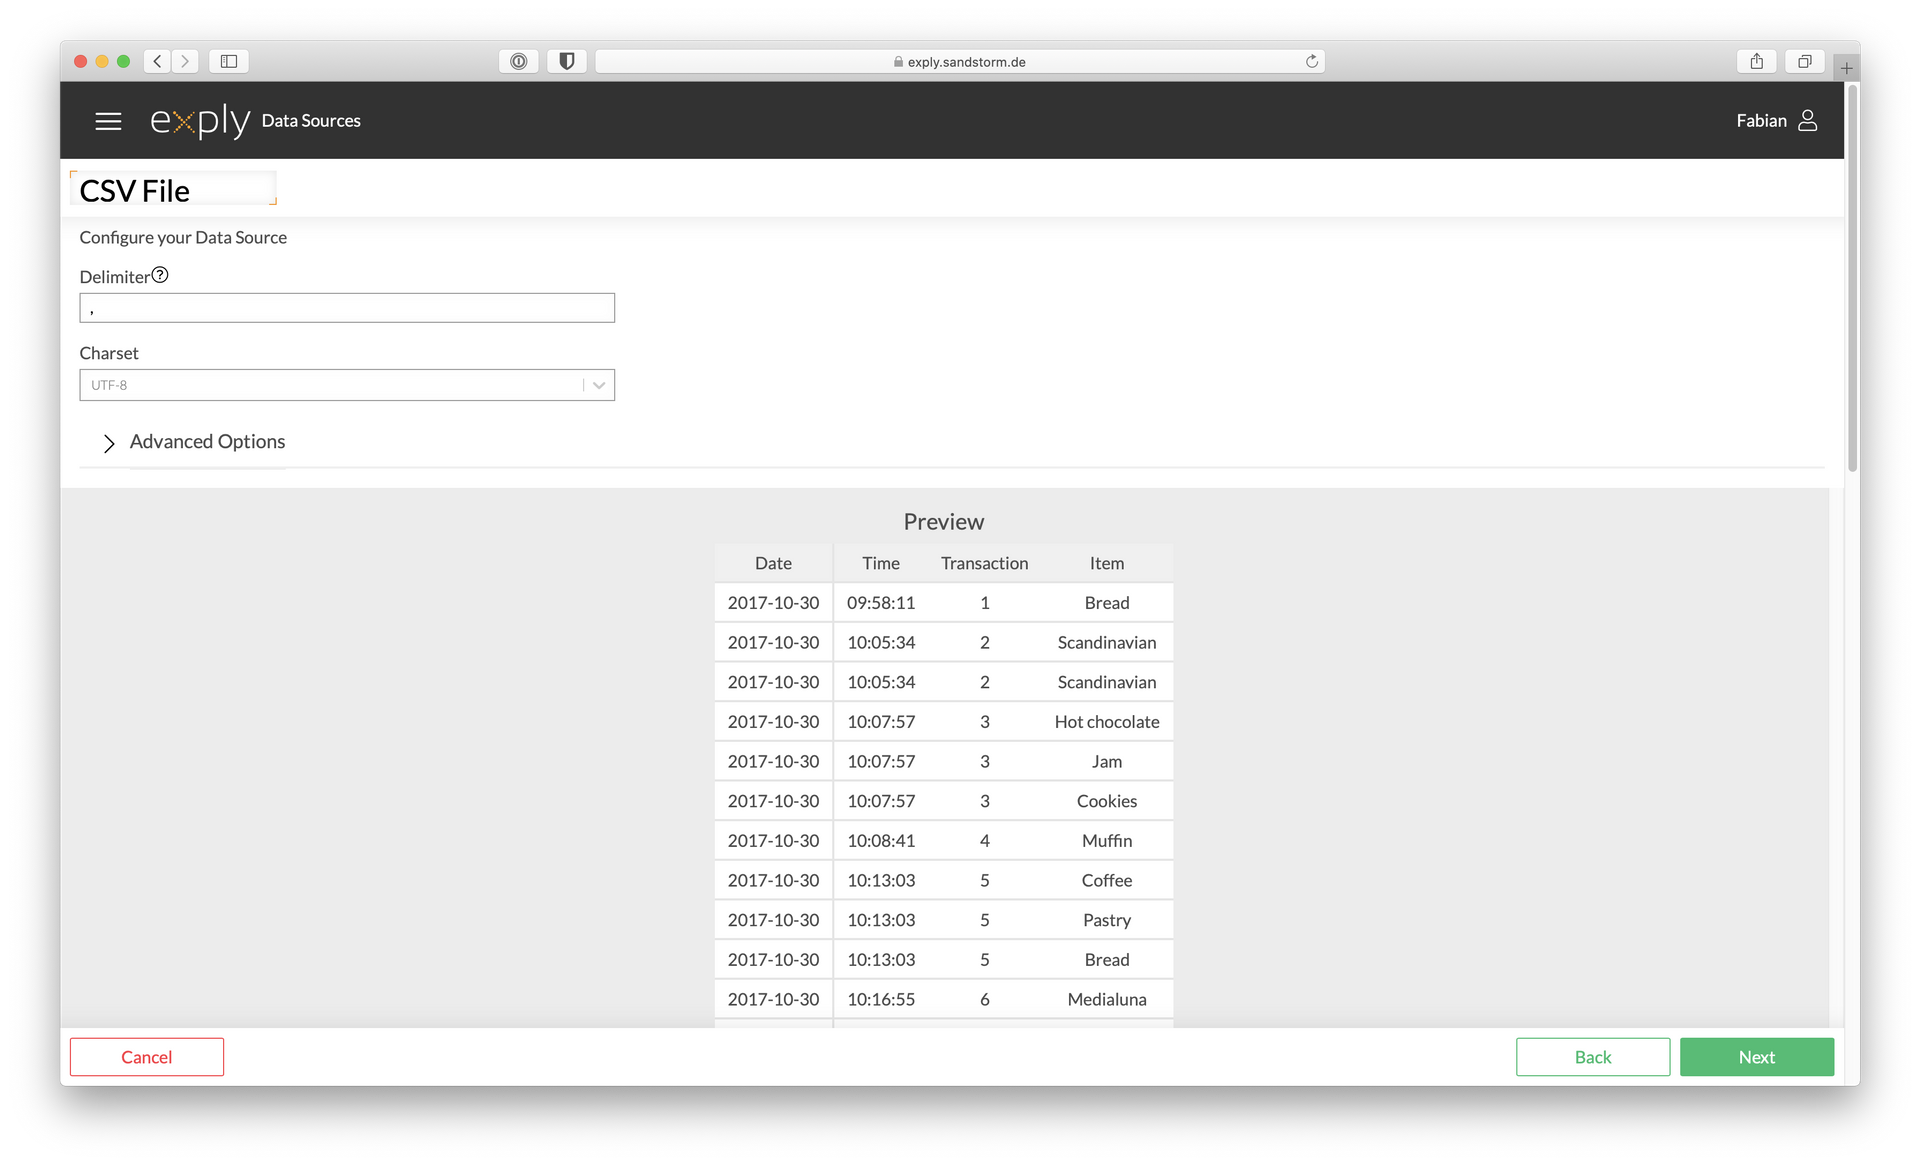
After correct Delimiter was entered and Preview is refreshed hit next
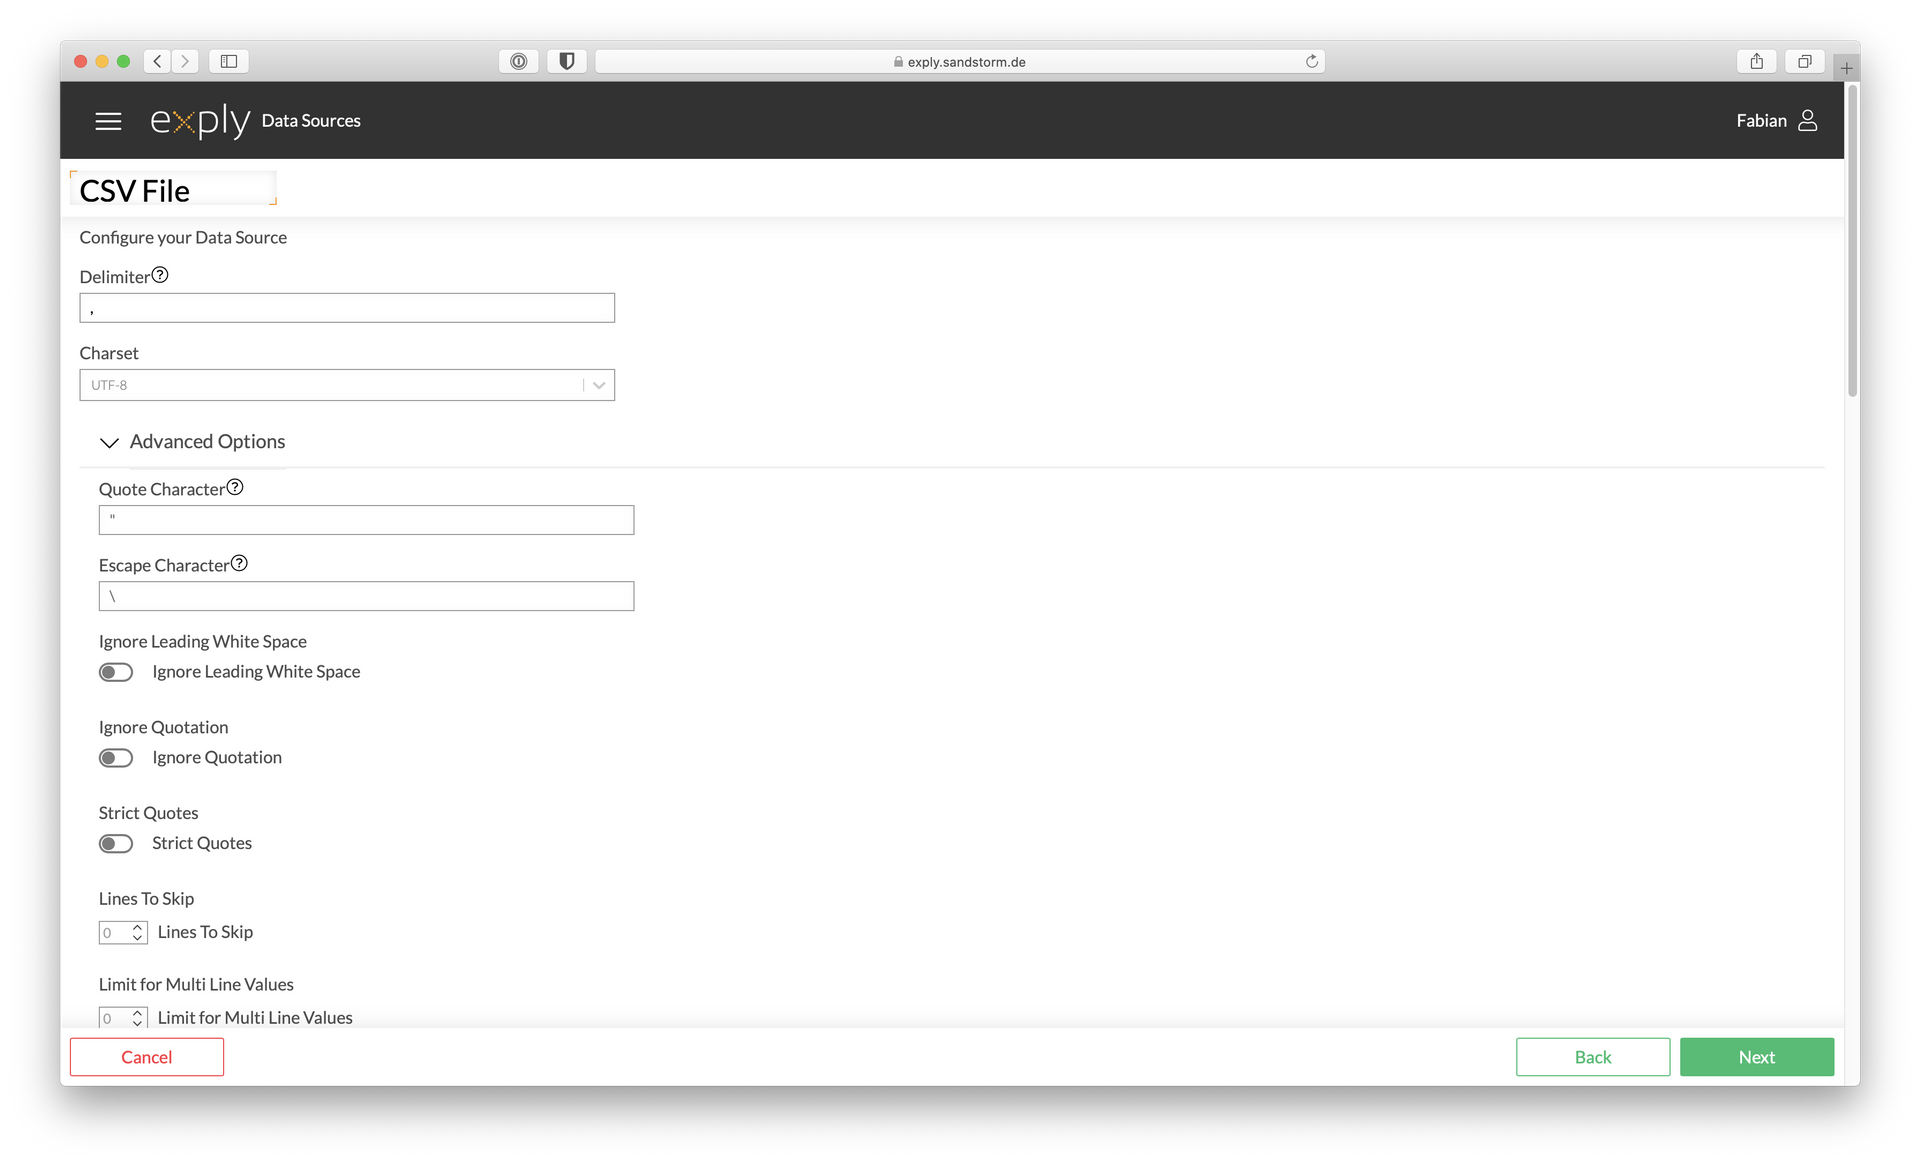
Advanced Options for advanced CSV Files if necessary
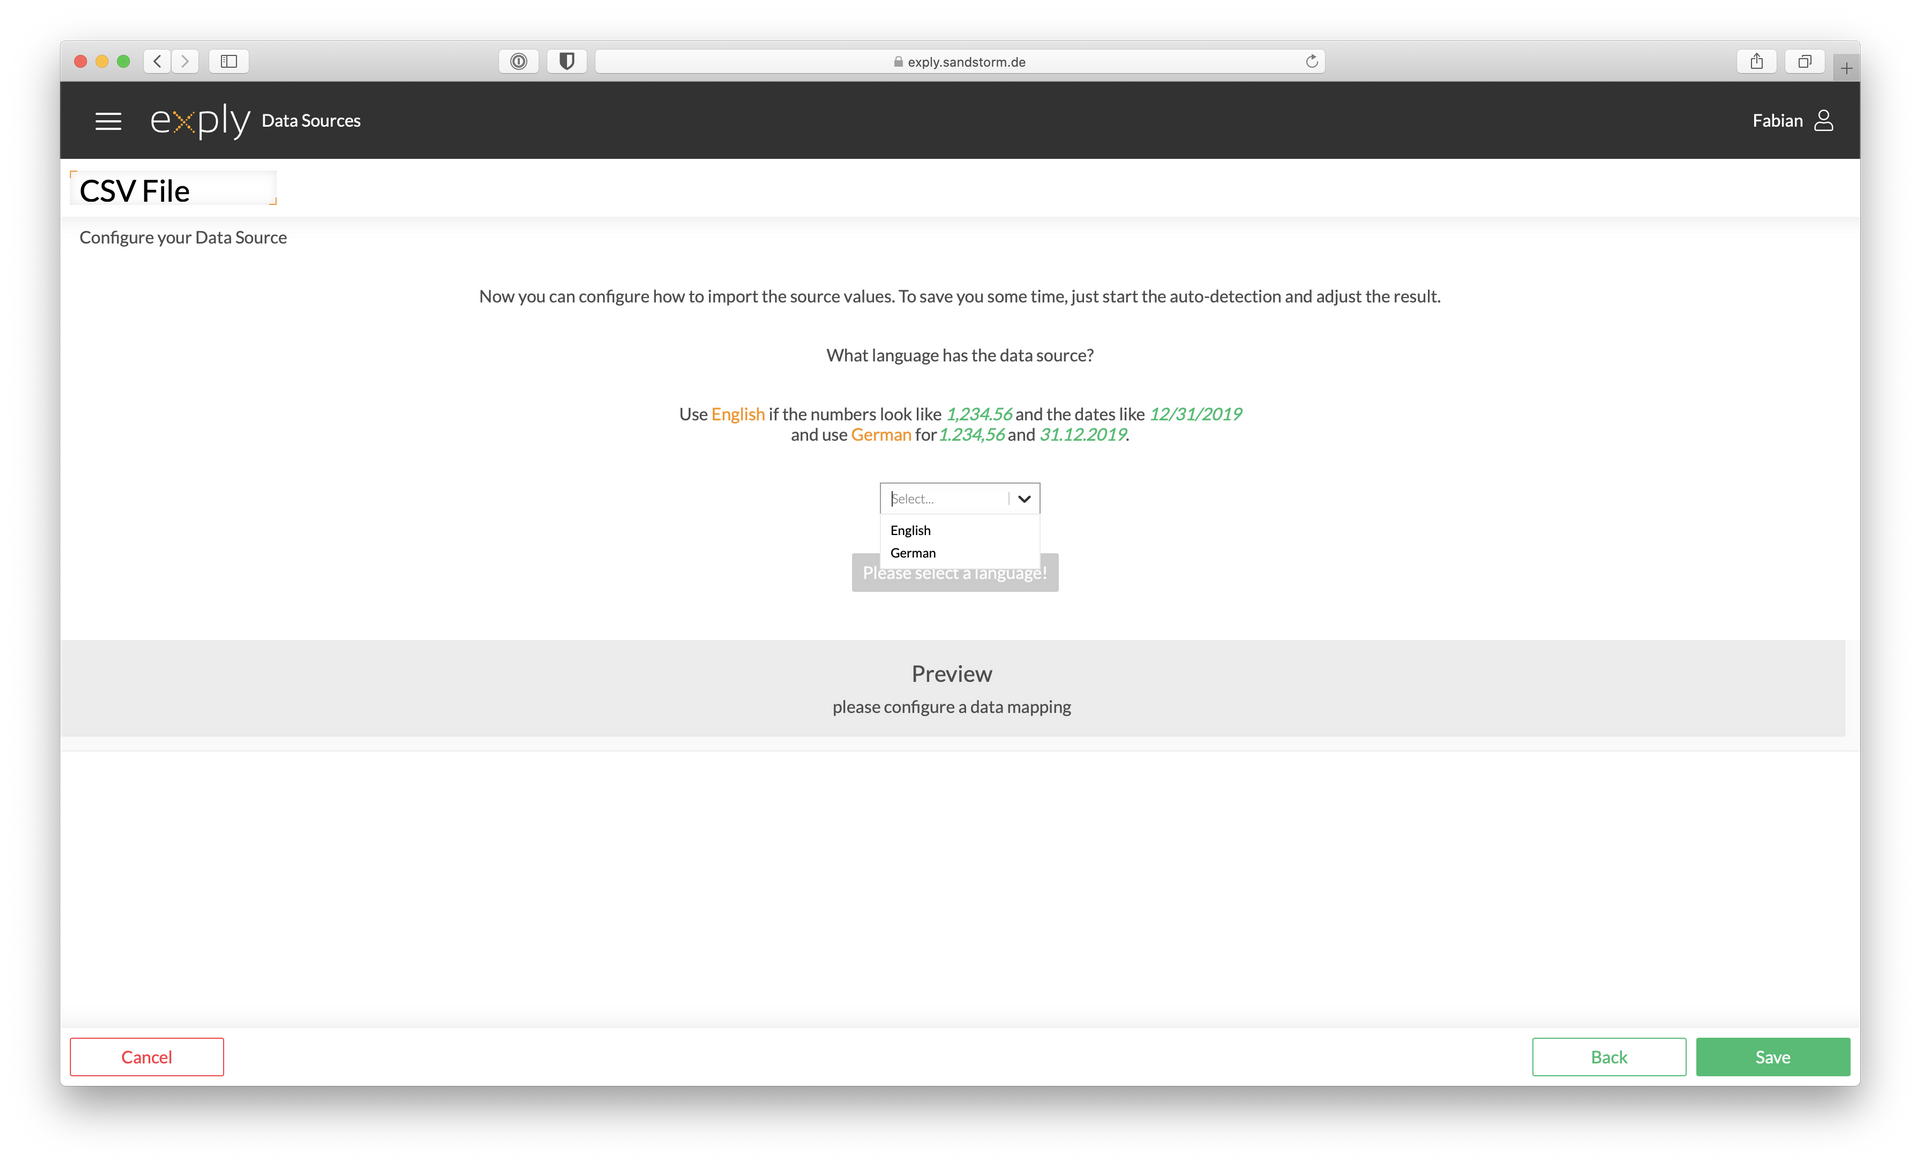
Choose the language of your XML file to enable auto-detect
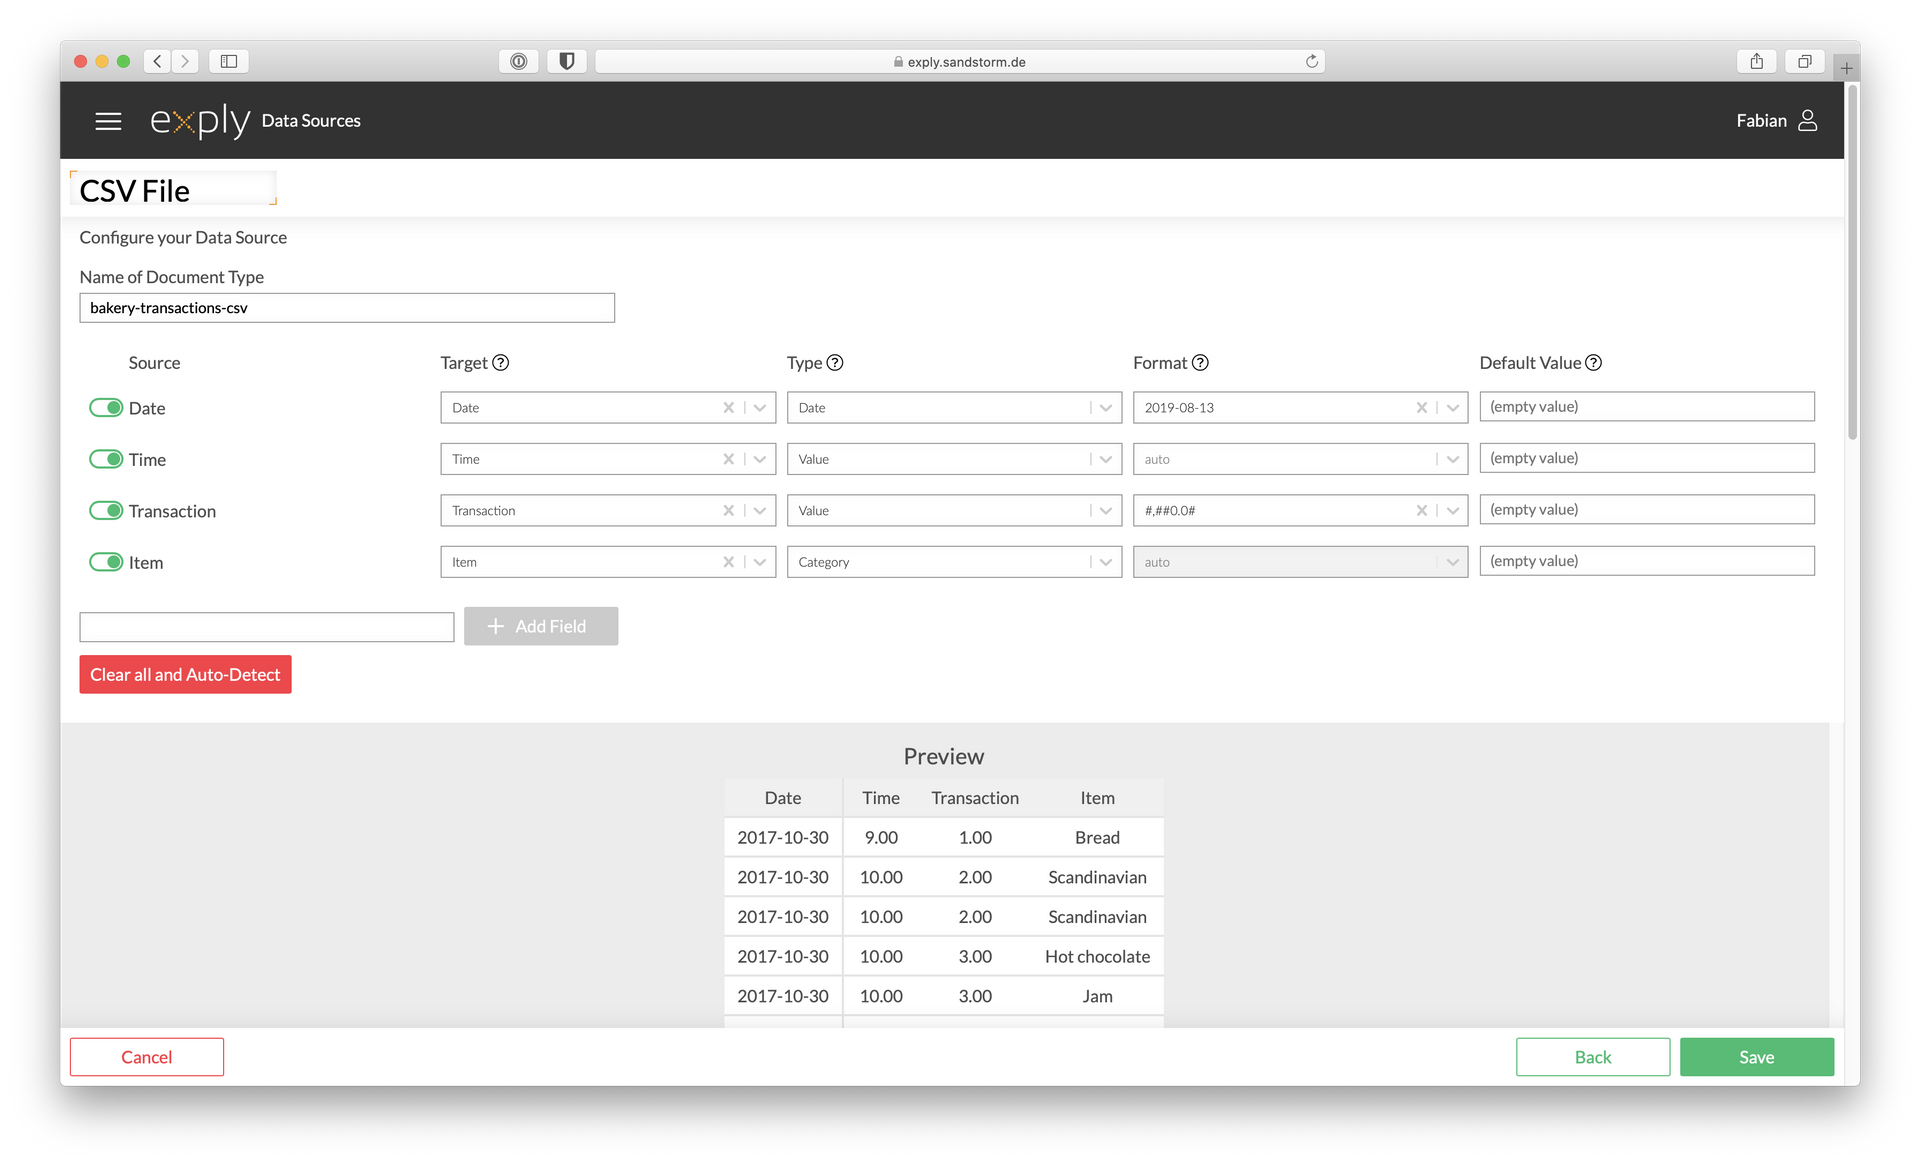
Auto-detect is not perfect 😉 validate all columns
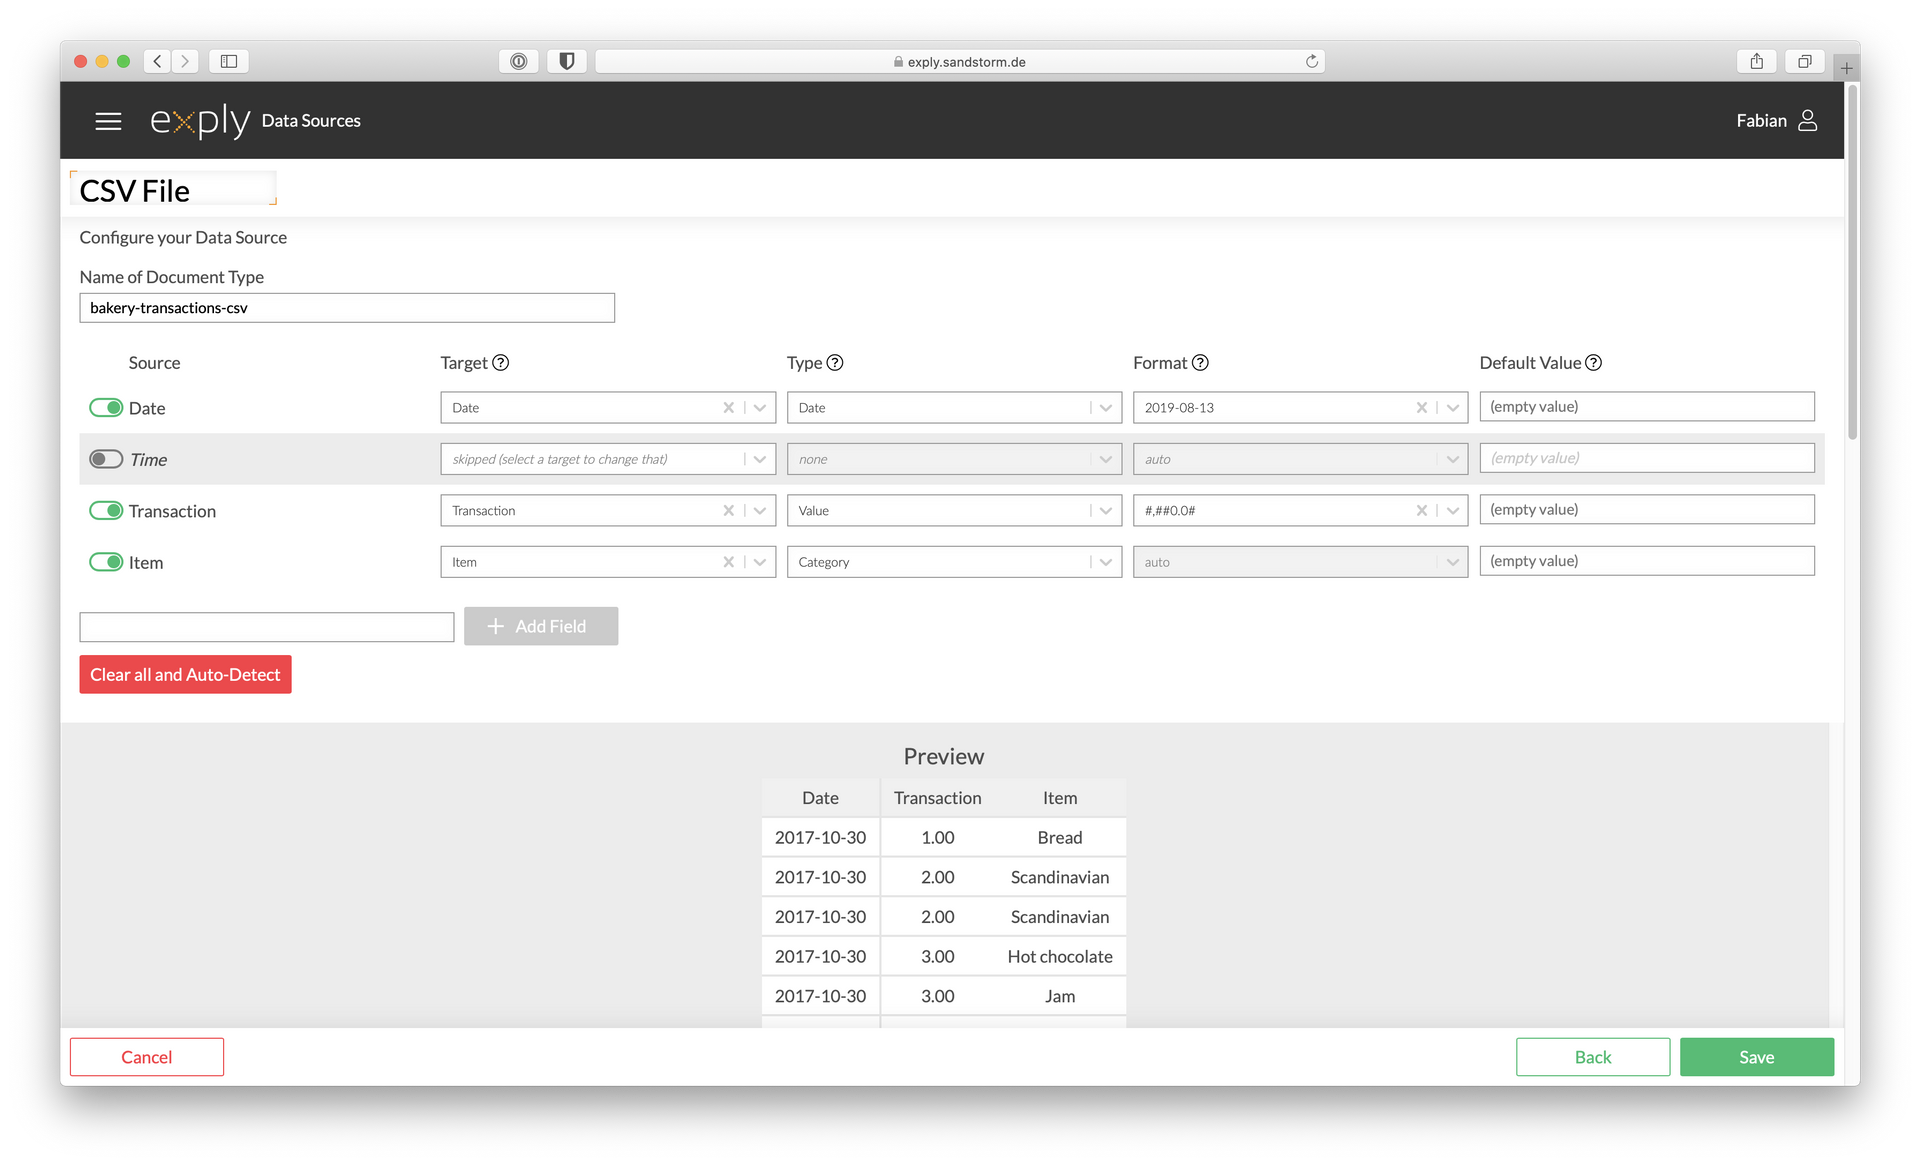
In this example we do not want to import the transaction time and deactivated the corresponding column via the switch
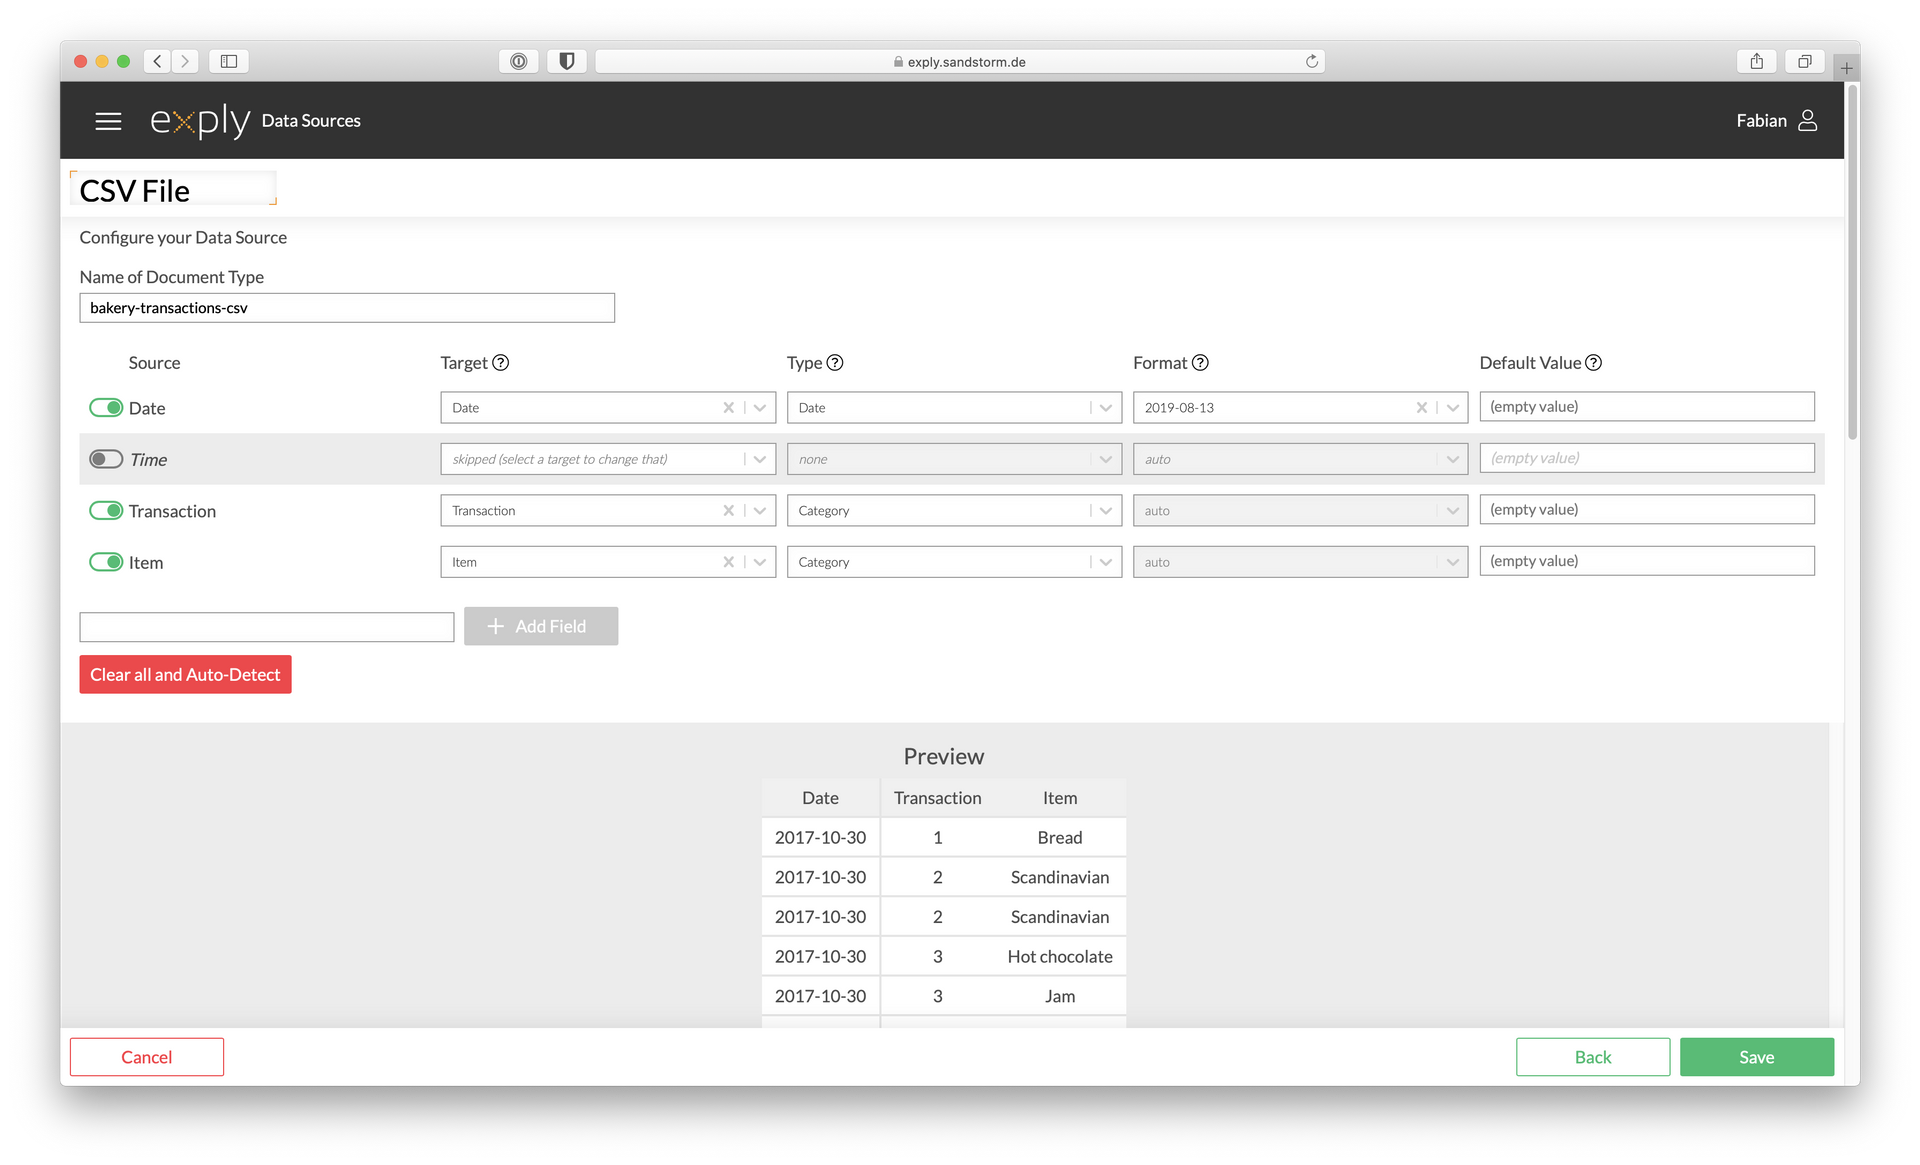
Transaction was recognized as value but is a category so we changed the type via the dropdown
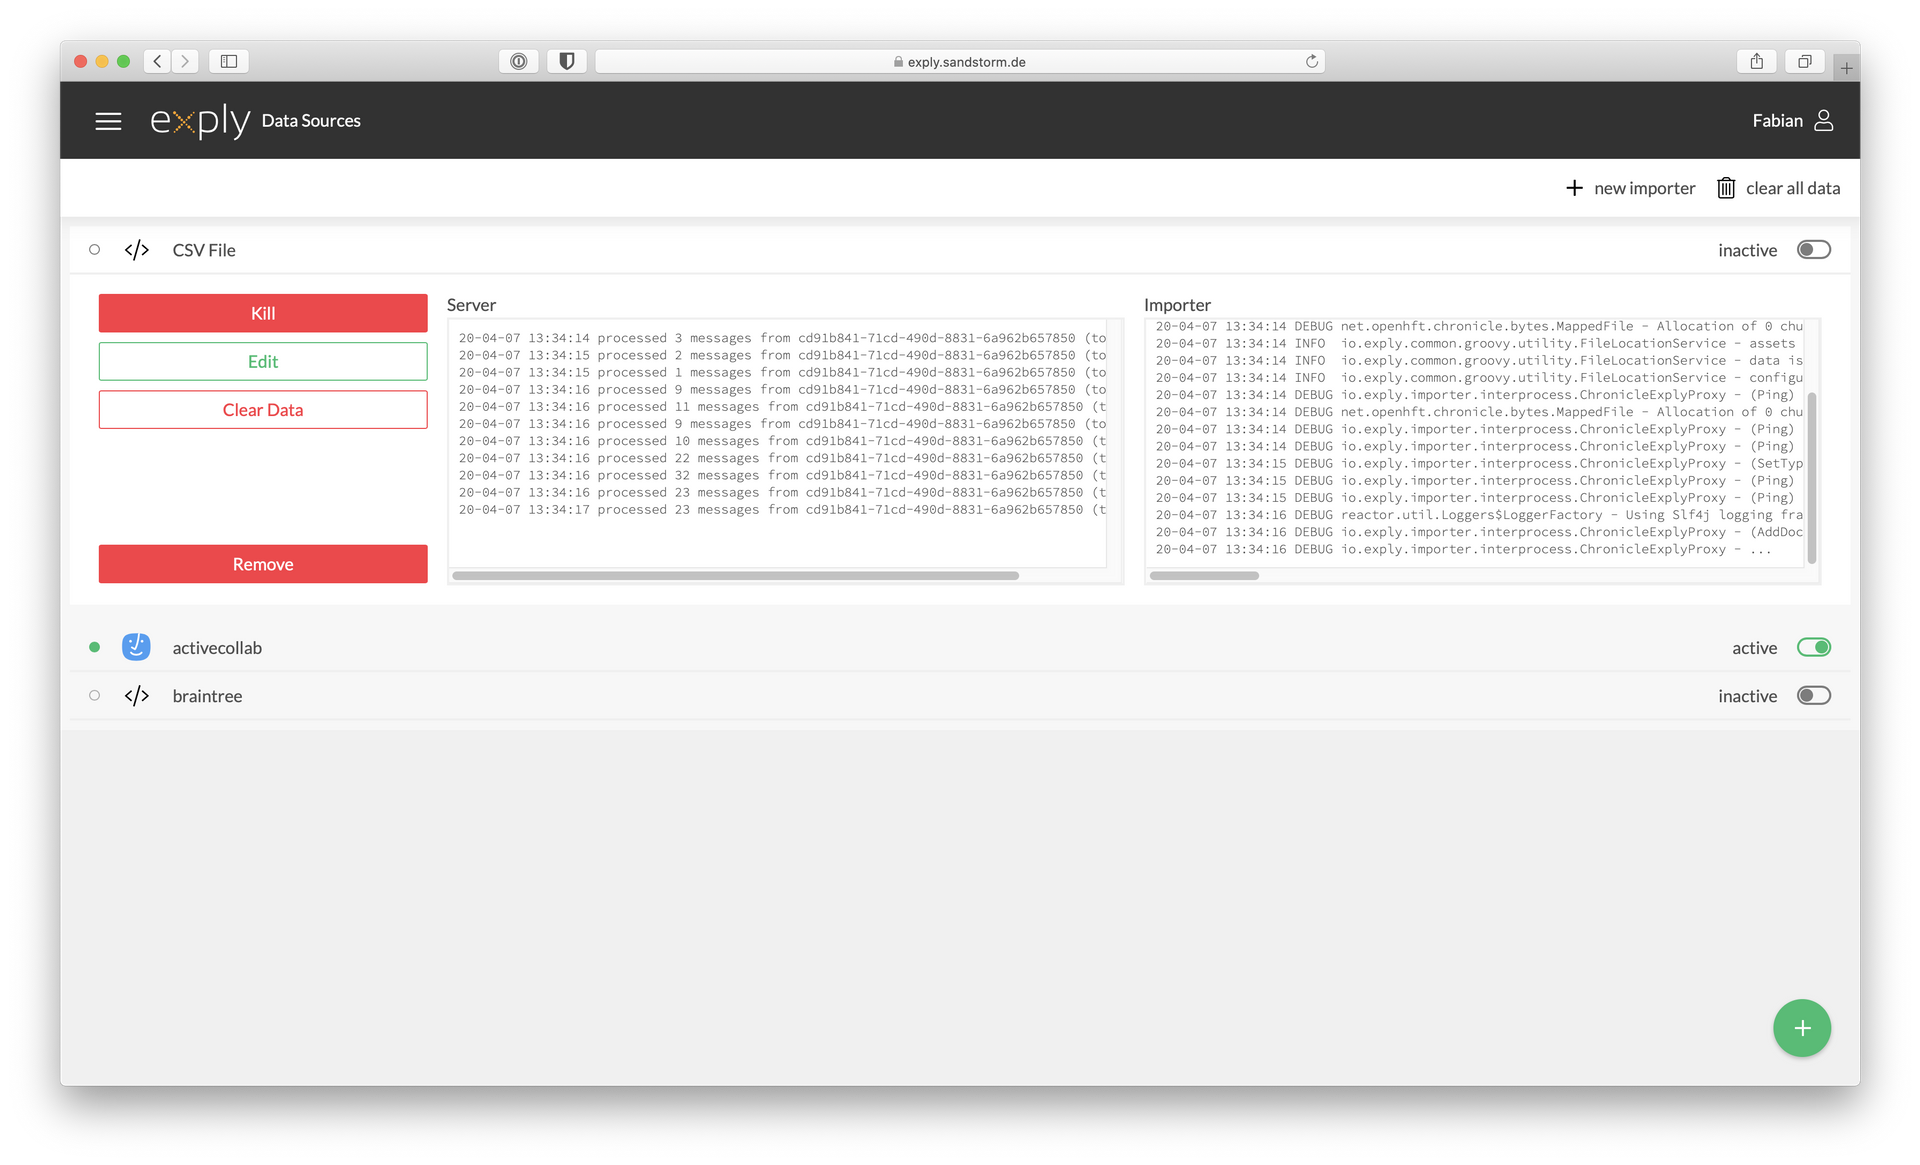
Everything is correct and the import started after hitting the save button
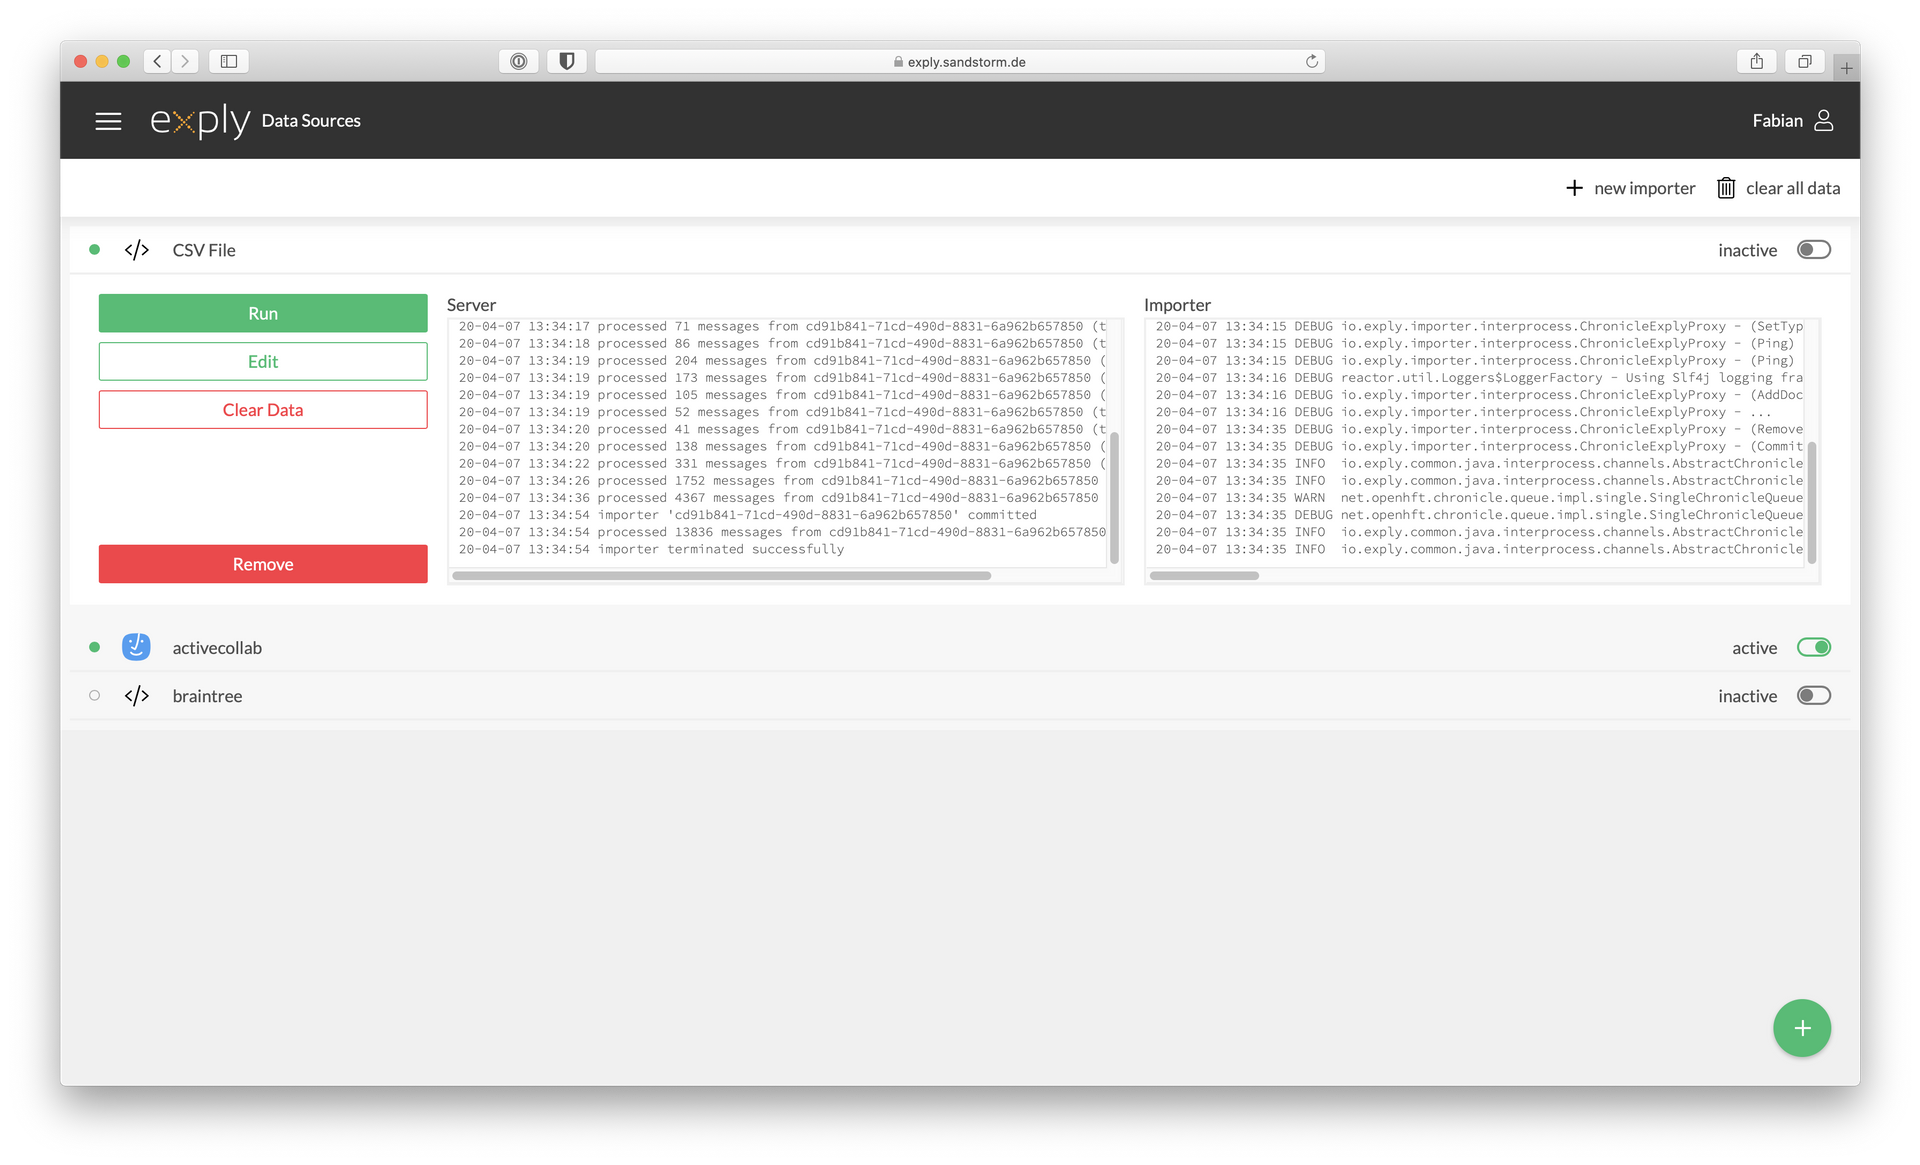
If the dot in front of your new importer is green, the importer is finished and you can start analyzing your data.