Installation & Setup
Installation
Exply is available as Jira Cloud add-on via the Atlassian Marketplace. You should have Jira system administration rights to install add-ons.
- Visit the Atlassian Marketplace
- Click the Try it free button
- After the installation we're starting and configuring your new Exply instance
- When this is finished you can enter Exply via the Apps menu in the top bar
Database
Exply stores data in an additional ElasticSearch database, which is managed by Exply itself.
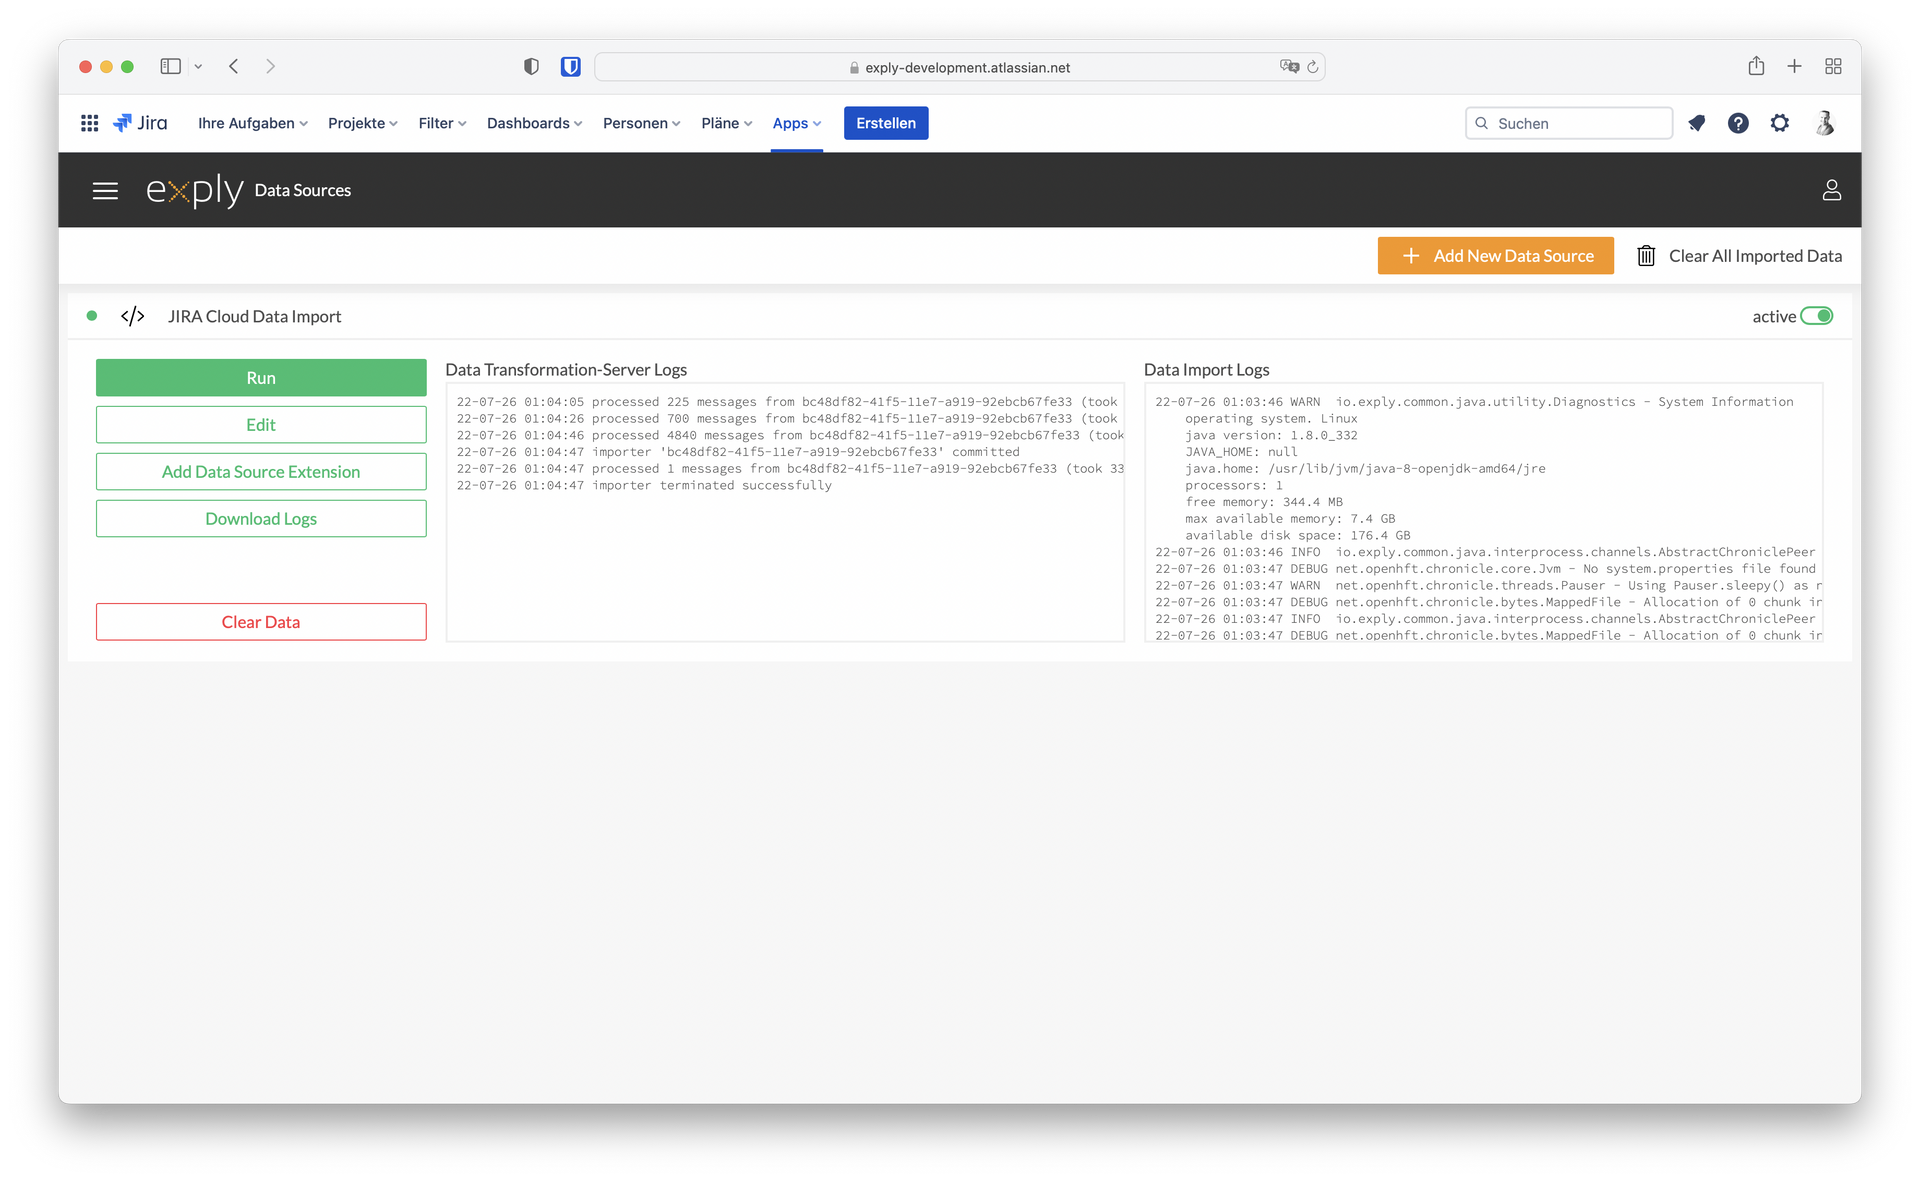
First Jira Data Import
After you installed Exply successfully the first Jira data import starts automatically in the background.
If you also installed Tempo Timesheets and want to import those data as well, you will need to add this to the Jira Cloud importer. More on that here: Exply for Jira Cloud User Management
Import Duration
Just to give you a rule of thumb: Importing ≈80.000 data entries will take approximately 90min.
A data entry can be an issue, a project, a work-log, a workload, etc.
Check results
After the import is completed, go to Dashboards screen and try to open sample Dashboards.
Export to PDF
If you would like to export Dashboards to PDF please use the print-to-PDF function of your browser.
Export to Excel
If you need to export Dashboards to Excel then you can use the export function in the top right corner of each Dashboard.
You can choose wether Dashboard results or Raw data should be exported. Please see the Export to Excel Guide for more details.
Troubleshooting
Please contact the Exply support if you need help with Exply :)